
一.配置 ssh 实现 A,B 主机互相免密登录
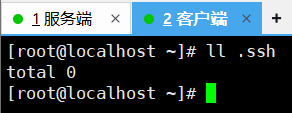
前情提要:A 与 B 的.ssh 路径下均无密钥任何密钥文件
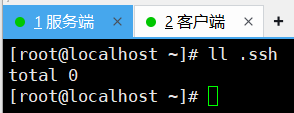

1.A 端生成 ssh 密钥对
[root@localhost ~]# ssh-keygen -t rsa -b 4096
 #指定密钥类型为RSA,并指定密钥长度为4096位(更安全)

Generating public/private rsa key pair.
Enter file in which to save the key (/root/.ssh/id_rsa):
Enter passphrase (empty for no passphrase):
Enter same passphrase again:
Your identification has been saved in /root/.ssh/id_rsa
Your public key has been saved in /root/.ssh/id_rsa.pub
The key fingerprint is:
SHA256:F0cfuHCnpRo/tIcx/**********7Ax3KJxlc root@localhost.localdomain
The key's randomart image is:
+---[RSA 4096]----+
|            ...  |
|          ..o.o. |
|          .oE*.  |
|       ********  |
|        S X=+*  .|
|       . ****o+..|
|          + .=.*.|
|        *******.=|
|         o+....o |
+----[SHA256]-----+
2.将 A 端生成的公钥发送给 B 端
[root@localhost ~]# ssh-copy-id -i ~/.ssh/id_rsa.pub root@192.168.233.131
/usr/bin/ssh-copy-id: INFO: Source of key(s) to be installed: "/root/.ssh/id_rsa.pub"
The authenticity of host '192.168.233.131 (192.168.233.131)' can't be established.
ED25519 key fingerprint is SHA256:5QDjOH01YAwnSxrGoQYqaFX63lS+NrISwaqKzsA3E7Y.
This key is not known by any other names
Are you sure you want to continue connecting (yes/no/[fingerprint])? yes
/usr/bin/ssh-copy-id: INFO: attempting to log in with the new key(s), to filter out any that are already installed
/usr/bin/ssh-copy-id: INFO: 1 key(s) remain to be installed -- if you are prompted now it is to install the new keys
root@192.168.233.131's password:

Number of key(s) added: 1

Now try logging into the machine, with:   "ssh 'root@192.168.233.131'"
and check to make sure that only the key(s) you wanted were added.
补充:
-i:指定公钥文件路径。
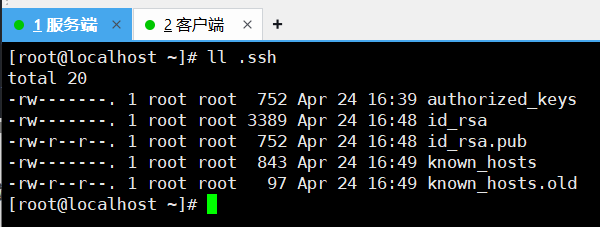
3.在 B 端设置~/.ssh 目录和 authorized_keys 文件的权限
[root@localhost ~]# chmod 700 ~/.ssh
#700:确保只有用户本人可以访问~/.ssh目录。

[root@localhost ~]# chmod 600 ~/.ssh/authorized_keys
#600:确保只有用户本人可以读写authorized_keys文件。
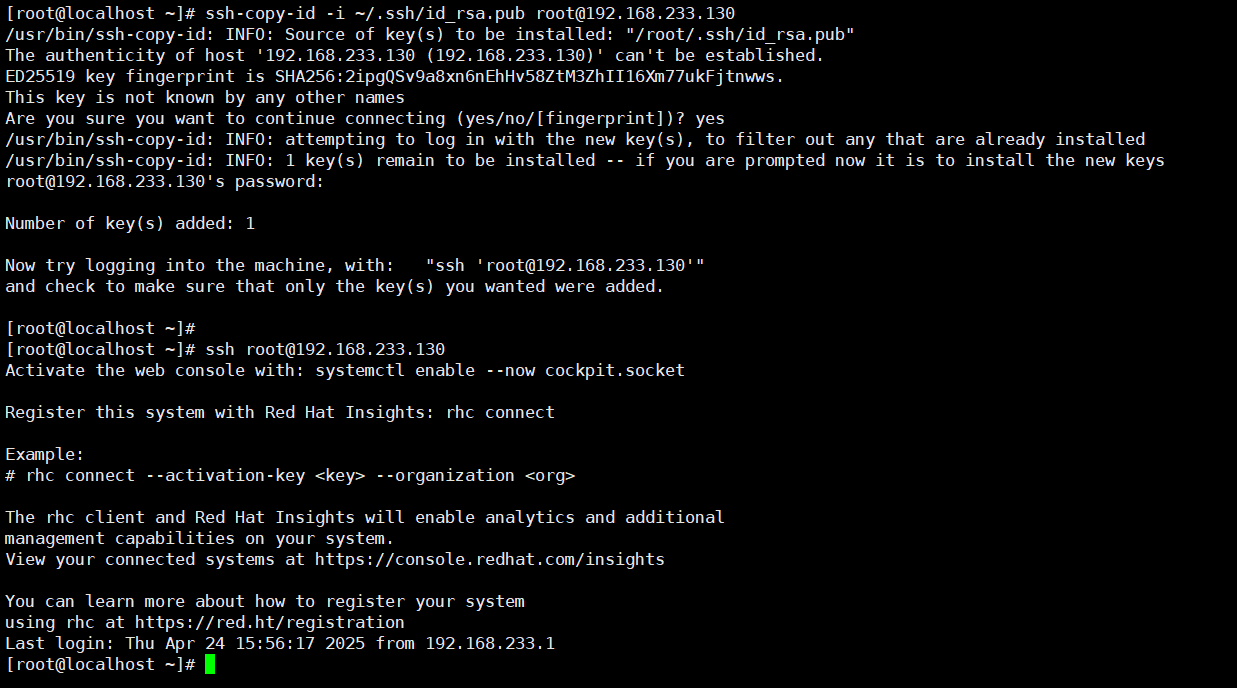
4.测试 A 端能否免密登录 B 端
[root@localhost ~]# ssh-copy-id -i ~/.ssh/id_rsa.pub root@192.168.233.131
/usr/bin/ssh-copy-id: INFO: Source of key(s) to be installed: "/root/.ssh/id_rsa.pub"
The authenticity of host '192.168.233.131 (192.168.233.131)' can't be established.
ED25519 key fingerprint is SHA256:5QDjOH01YAwnSxrGoQYqaFX63lS+NrISwaqKzsA3E7Y.
This key is not known by any other names
Are you sure you want to continue connecting (yes/no/[fingerprint])? yes
/usr/bin/ssh-copy-id: INFO: attempting to log in with the new key(s), to filter out any that are already installed
/usr/bin/ssh-copy-id: INFO: 1 key(s) remain to be installed -- if you are prompted now it is to install the new keys
root@192.168.233.131's password:

Number of key(s) added: 1

Now try logging into the machine, with:   "ssh 'root@192.168.233.131'"
and check to make sure that only the key(s) you wanted were added.

[root@localhost ~]# ssh root@192.168.233.131
Activate the web console with: systemctl enable --now cockpit.socket

Register this system with Red Hat Insights: rhc connect

Example:
# rhc connect --activation-key <key> --organization <org>

The rhc client and Red Hat Insights will enable analytics and additional
management capabilities on your system.
View your connected systems at https://console.redhat.com/insights

You can learn more about how to register your system
using rhc at https://red.ht/registration
Last login: Thu Apr 24 16:21:25 2025 from 192.168.233.130
**A 端到 B 端免密登录成功 **
5.B 端到 A 端配置同理
结果如下:
二.配置 nginx 服务,通过多 ip 区分多网站
1.关闭防火墙和 SElinux(生产环境下慎重)
[root@localhost ~]# systemctl stop firewalld.service
[root@localhost ~]# setenforce 0
2.部署服务器网站服务
(1)安装 Nginx
[root@localhost ~]# dnf install nginx -y
(2)虚拟主机添加多个网卡(此演示为开机状态下添加)
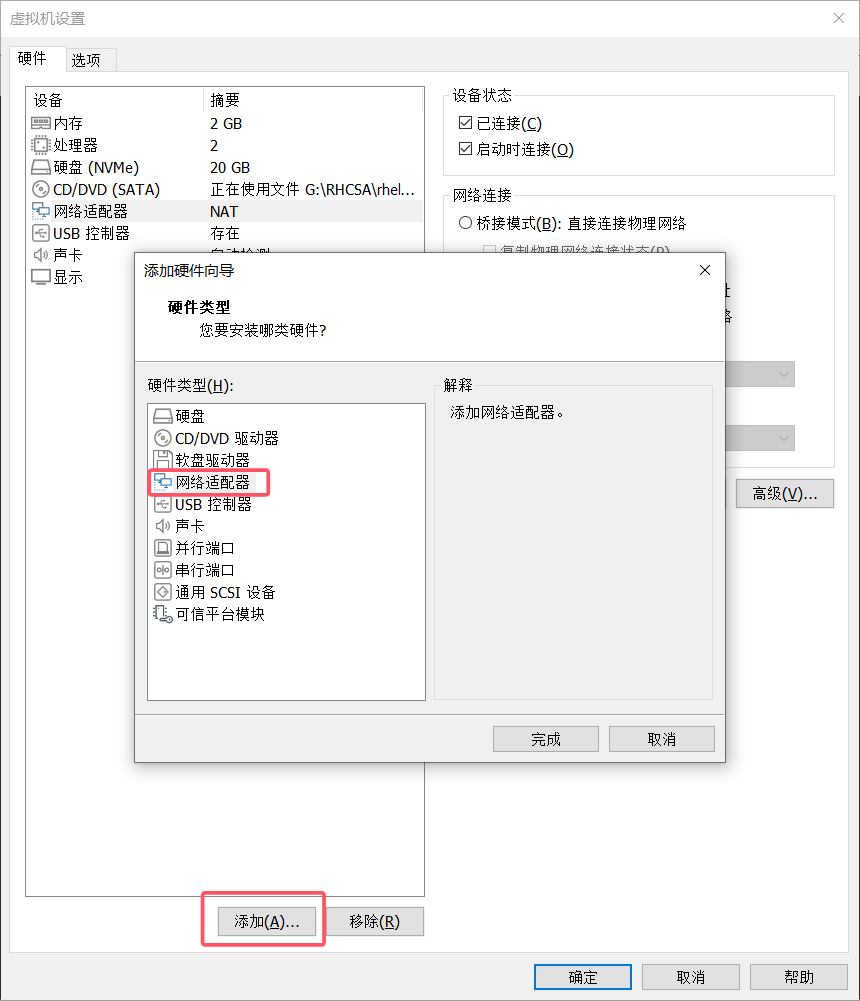
(3) 激活网卡设备(若关机状态下新增网卡,则省略该步骤)
[root@localhost ~]# nmcli device connect ens224
Device 'ens224' successfully activated with '6e4c0edf-80de-4889-a829-ceff62a9e4ca'.
[root@localhost ~]# nmcli connection up ens224
Connection successfully activated (D-Bus active path: /org/freedesktop/NetworkManager/ActiveConnection/4)
[root@localhost ~]# ip a
1: lo: <LOOPBACK,UP,LOWER_UP> mtu 65536 qdisc noqueue state UNKNOWN group default qlen 1000
    link/loopback 00:00:00:00:00:00 brd 00:00:00:00:00:00
    inet 127.0.0.1/8 scope host lo
       valid_lft forever preferred_lft forever
    inet6 ::1/128 scope host
       valid_lft forever preferred_lft forever
2: ens160: <BROADCAST,MULTICAST,UP,LOWER_UP> mtu 1500 qdisc mq state UP group default qlen 1000
    link/ether 00:0c:29:80:bd:97 brd ff:ff:ff:ff:ff:ff
    altname enp3s0
    inet 192.168.233.130/24 brd 192.168.233.255 scope global dynamic noprefixroute ens160
       valid_lft 1632sec preferred_lft 1632sec
    inet6 fe80::20c:29ff:fe80:bd97/64 scope link noprefixroute
       valid_lft forever preferred_lft forever
3: ens224: <BROADCAST,MULTICAST,UP,LOWER_UP> mtu 1500 qdisc mq state UP group default qlen 1000
    link/ether 00:0c:29:80:bd:a1 brd ff:ff:ff:ff:ff:ff
    altname enp19s0
    inet 192.168.233.132/24 brd 192.168.233.255 scope global dynamic noprefixroute ens224
       valid_lft 1663sec preferred_lft 1663sec
    inet6 fe80::2475:8a2c:6ba9:9e38/64 scope link noprefixroute
       valid_lft forever preferred_lft forever
(4)更新 Nginx 子配置目录
[root@localhost ~]# vim /etc/nginx/conf.d/ip.conf
server {
	listen 80;                    #监听端口(http默认端口)
	server_name 192.168.233.130;  #服务ip地址
	root /www;                    #网站根目录,所有请求的文件都将从这个目录下查找
	location /{                   #定义一个位置块,匹配所有请求路径("/")
		index index.html;         #设置默认索引文件为 index.html
                                  #当访问目录时,Nginx 会自动寻找并返回 index.html 文件
	}
}

server {
	listen 80;
	server_name 192.168.233.132;
	root /www/132;
	location /{
		index index.html;
	}
}
(5)根据配置文件,创建对应网站根目录,并创建对应 index 文件
[root@localhost ~]# mkdir /www
[root@localhost ~]# echo this is 130 > /www/index.html
[root@localhost ~]# mkdir /www/132
[root@localhost ~]# echo this is 132 > /www/132/index.html
(6)重启 nginx 服务
[root@localhost ~]# systemctl restart nginx.service
(7)测试
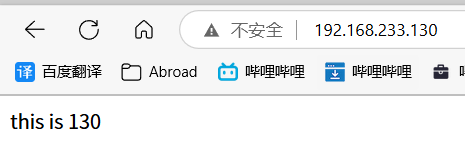
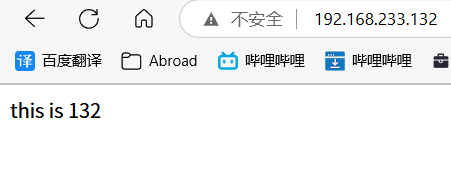
试验完成
标签:
©
版权声明:本文采用 CC BY-NC-SA 4.0 协议授权,转载请注明出处并保留原始链接。
原文链接:https://www.jerrygao.cn//blog/linuxE7B3BBE7BB9FsshnginxE69C8DE58AA1E9858DE7BDAE
评论 0
💬
还没有评论,成为第一个留言的人吧!